Build date: 2022-11-13
Welcome to bag 8! This one’s all about internal details and the flap that is going to sit under the engines.

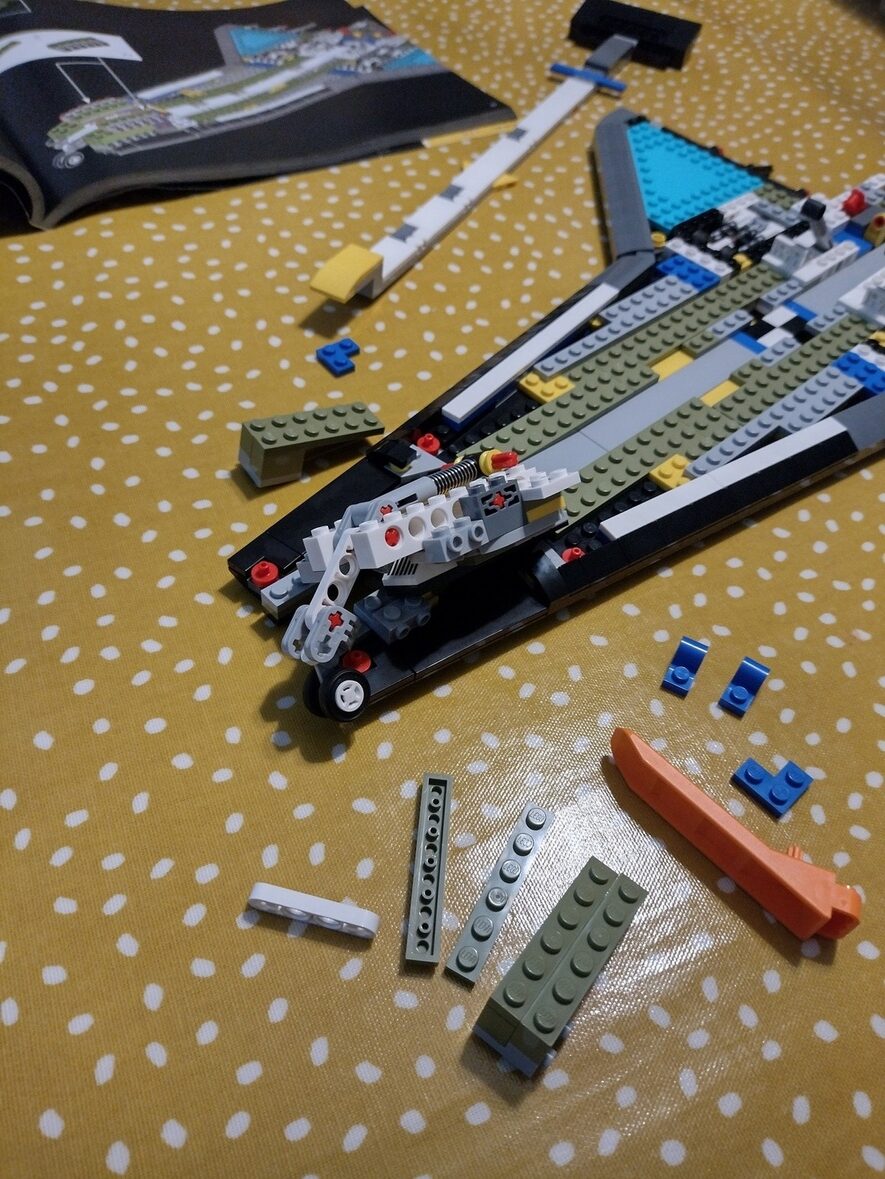
First stage of construction is assembling a body-length unit that’s going to sit over the smooth plate section in the shuttle body, where the black-and-white checked section is visible.
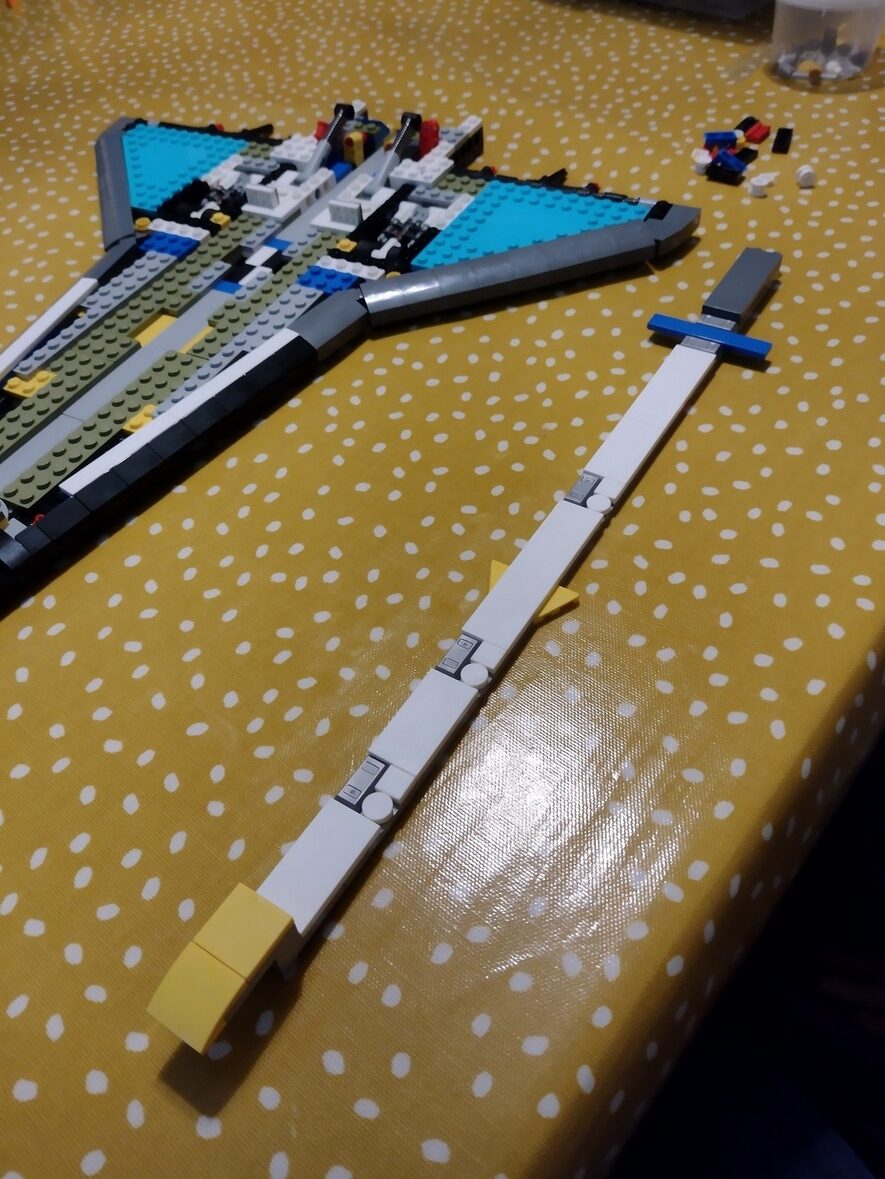
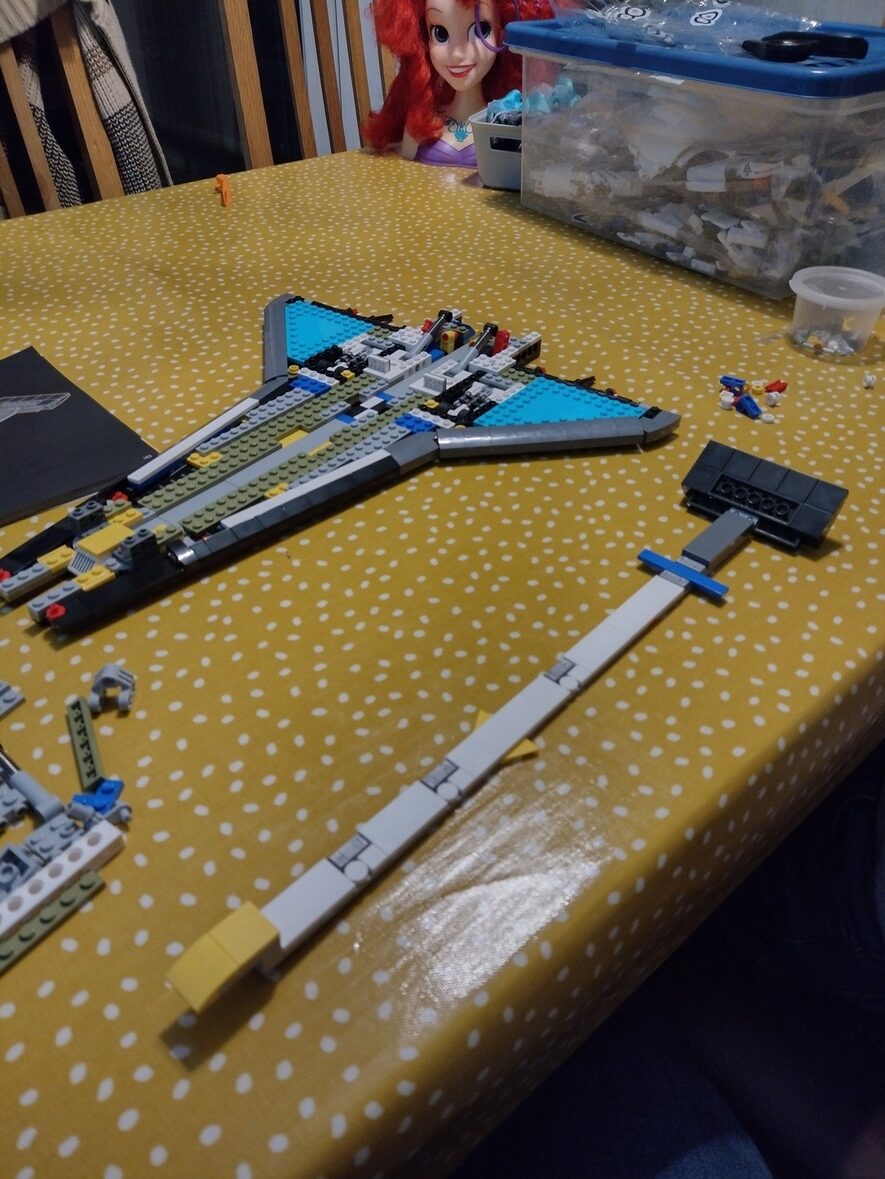
The engine protector flap is attached with a couple of grippy pieces that allow it to pivot vertically. Once installed in place, the whole unit slides back and forward by about a centimeter, constrained by a gap in the bricks within the middle of the shuttle.

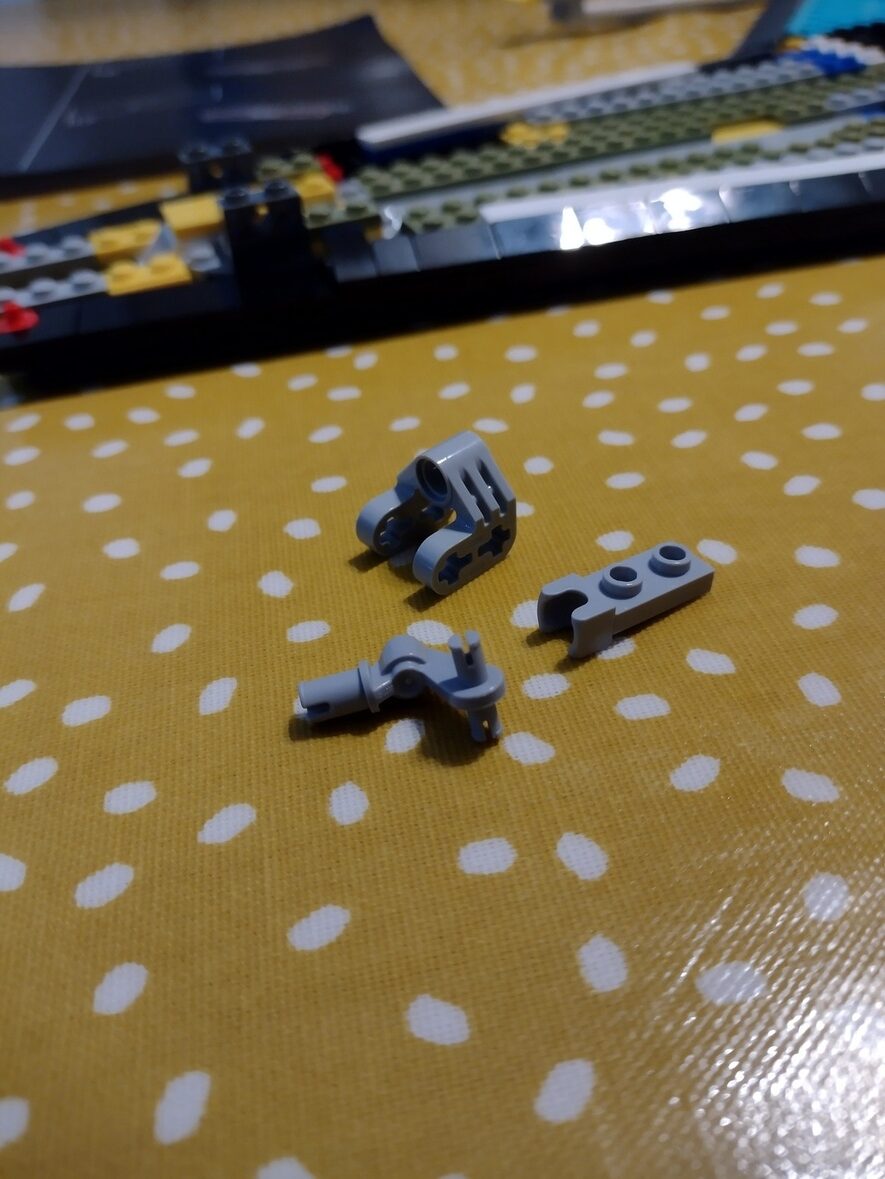
Couple of non-standard pieces are used to build up the front landing gear.
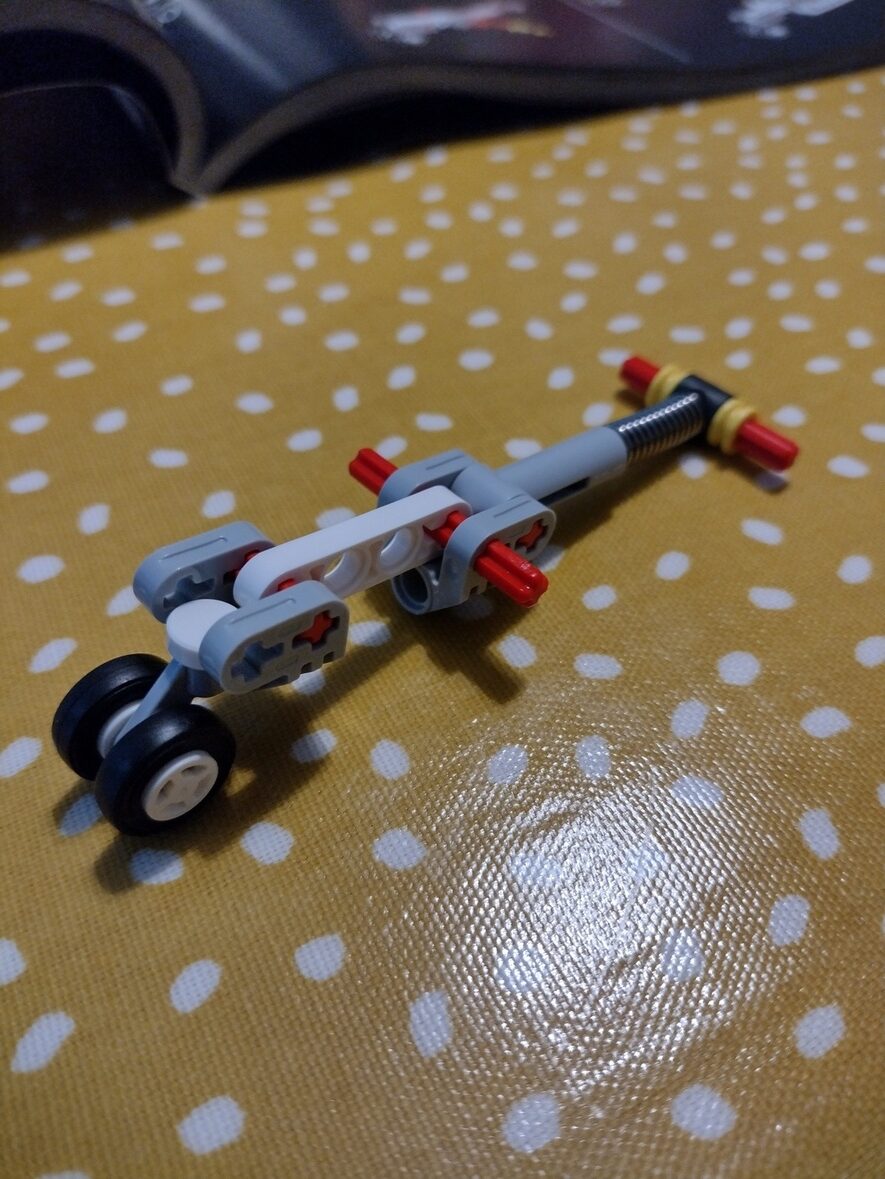
Once mounted, the landing gear is compressed into place. This is the first real stuff-up that I’ve made. Something’s one stud off, and of course this entire unit involves a rebuild of the nose section. 🤦
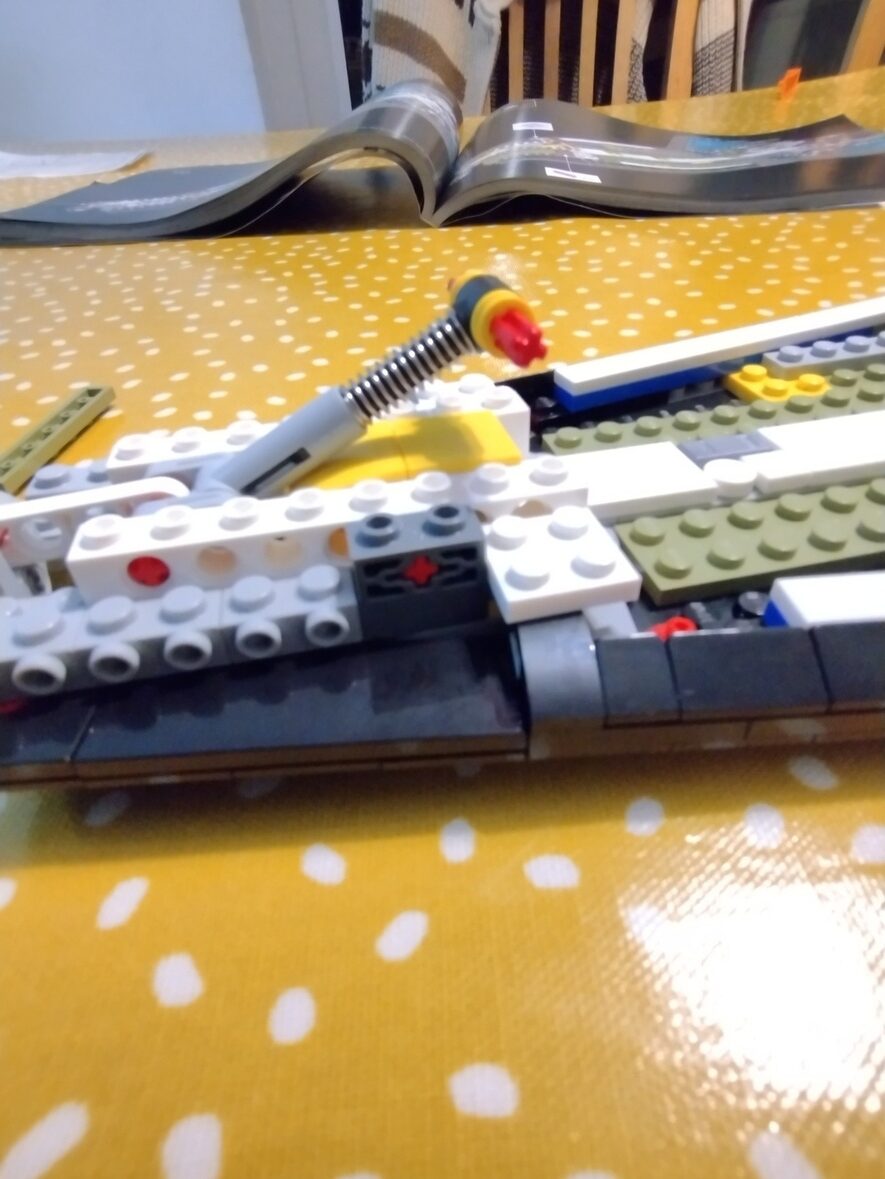
A few minutes and a bit of cursing later, the landing gear is mounted and spring-loaded! Now it all makes sense – the landing gear going up pushes the whole mid-section piece backwards, which extends the flap beyond where the engine will be!
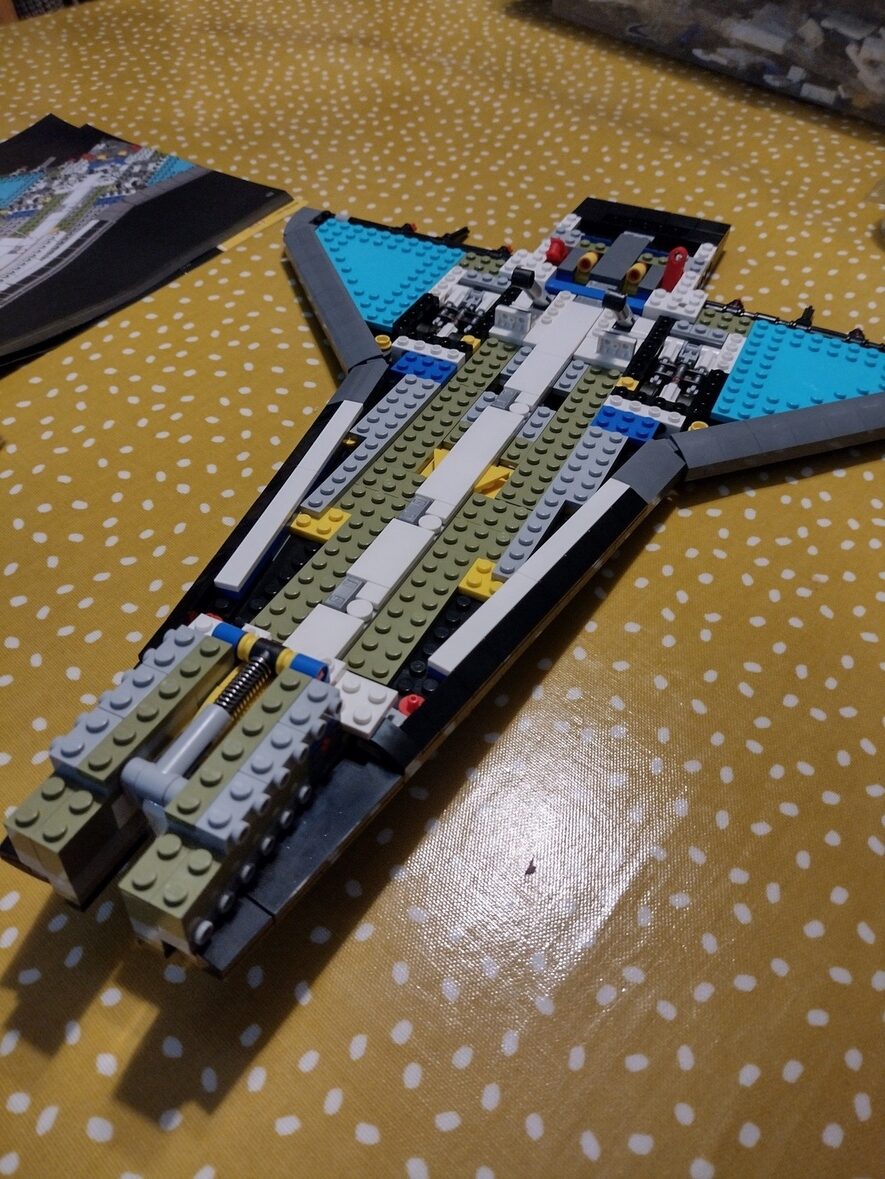
That whole midsection isn’t attached to anything – it’s free-floating.
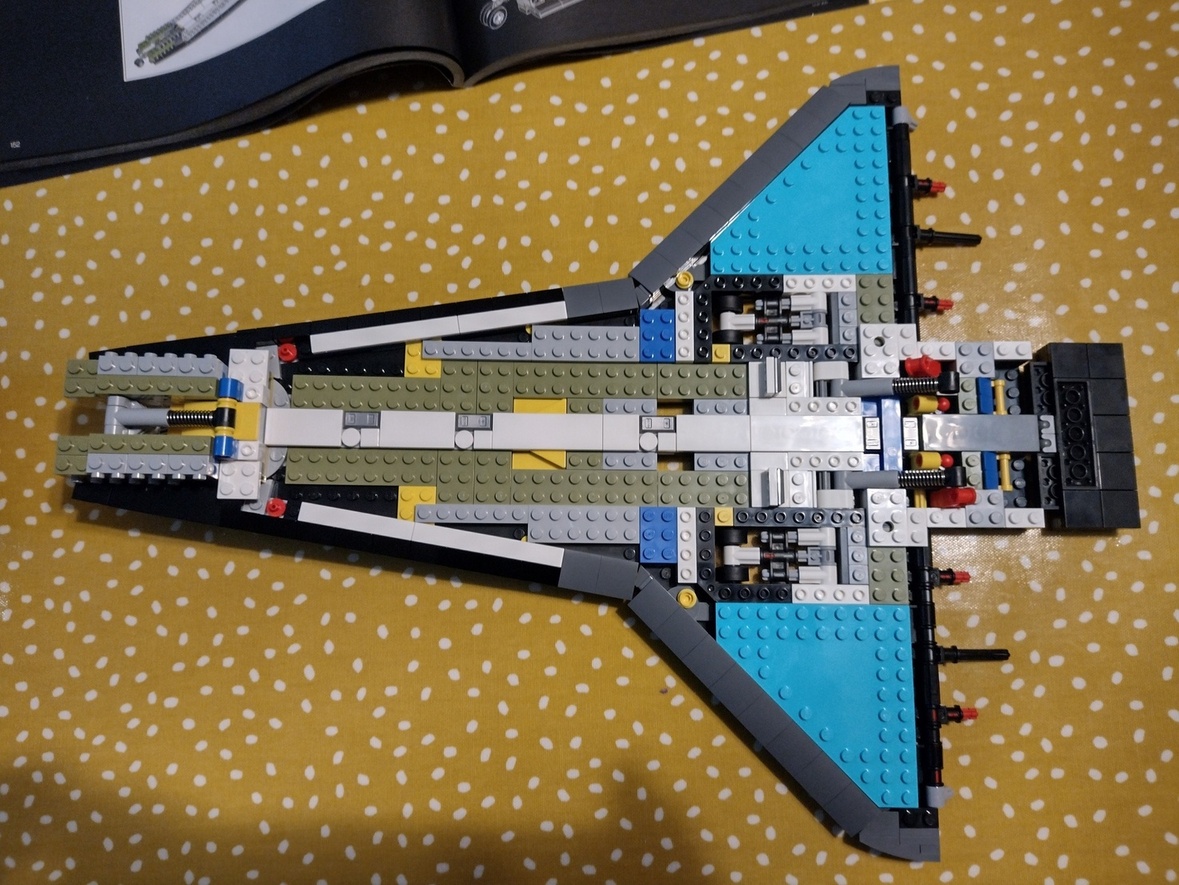
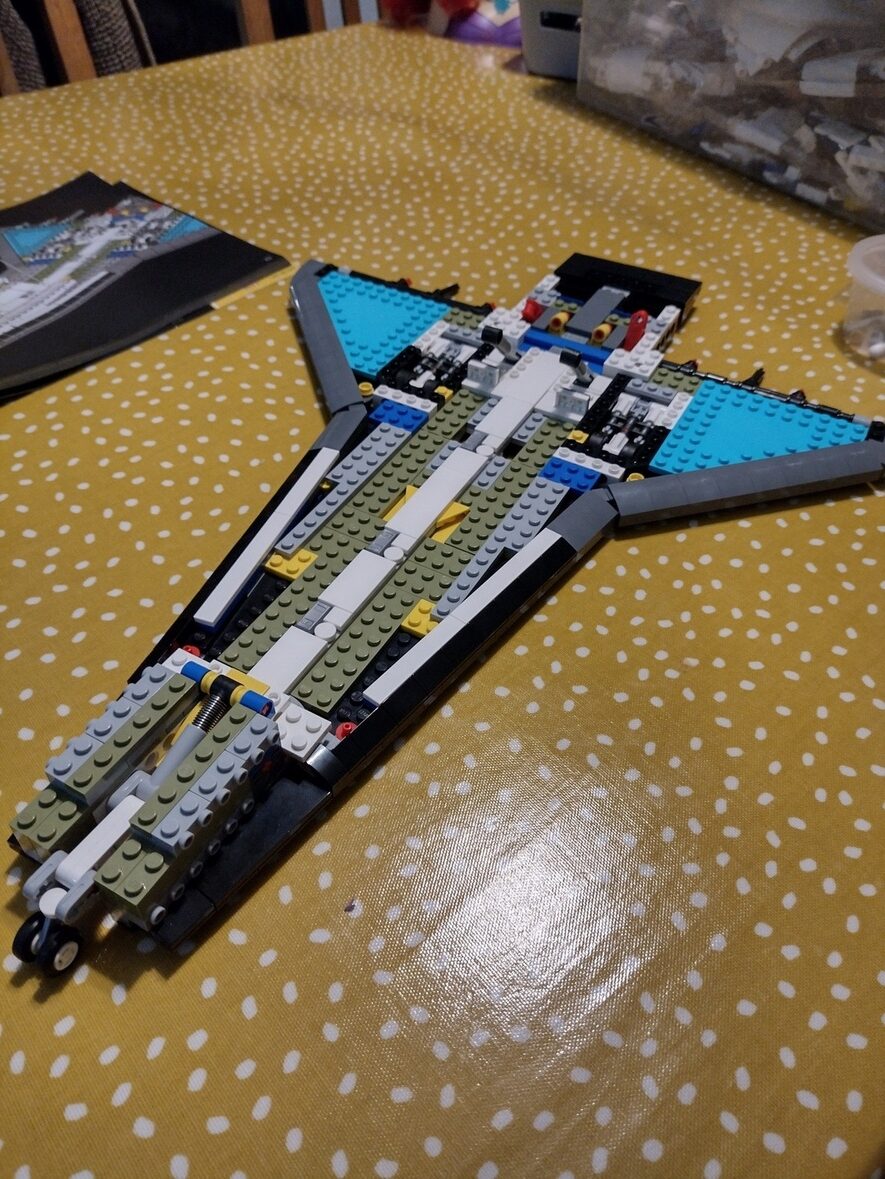
The final result, for this bag. 9 bags to go!
This post is part of a series. You can read about the backstory behind this pet project of mine and navigate all the posts via an index on Lego Space Shuttle Mega-Build.