Build date: 2022-11-06
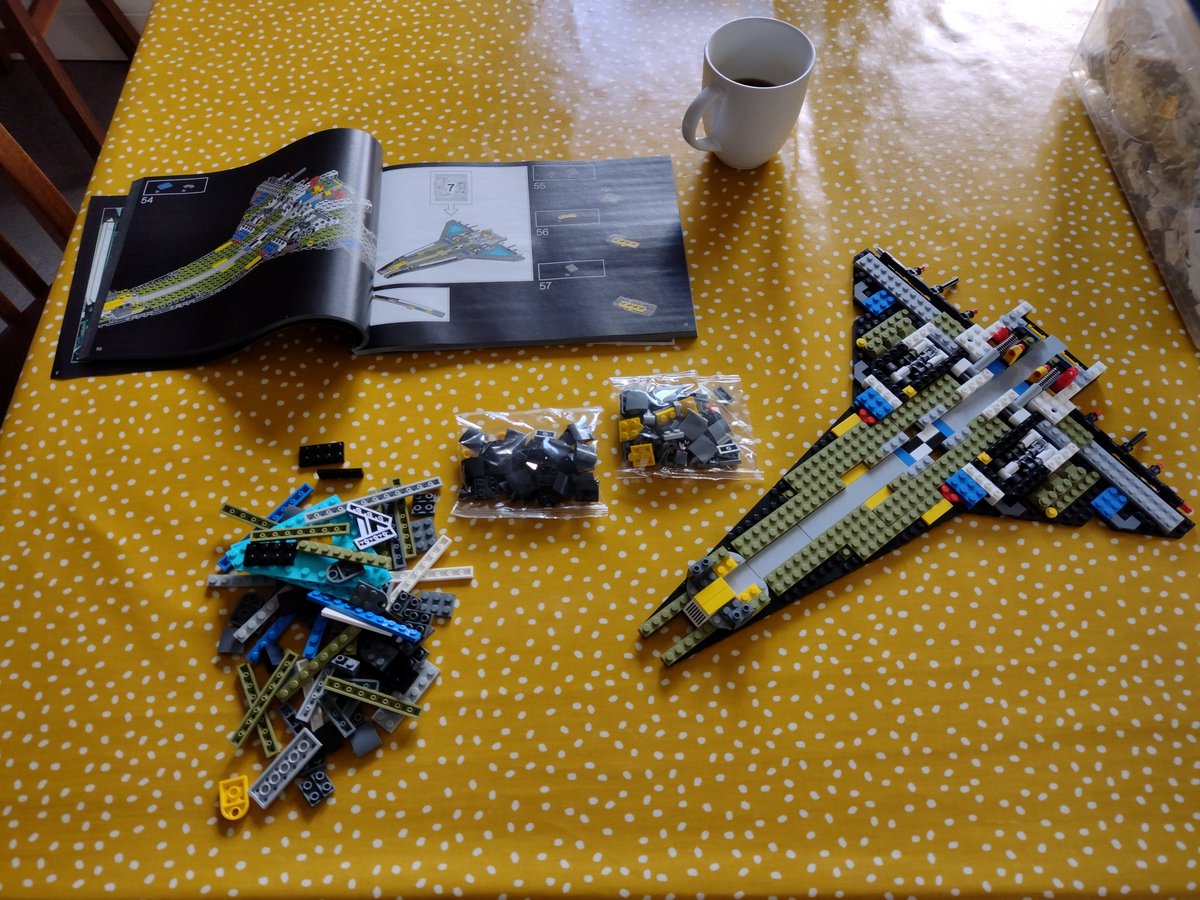
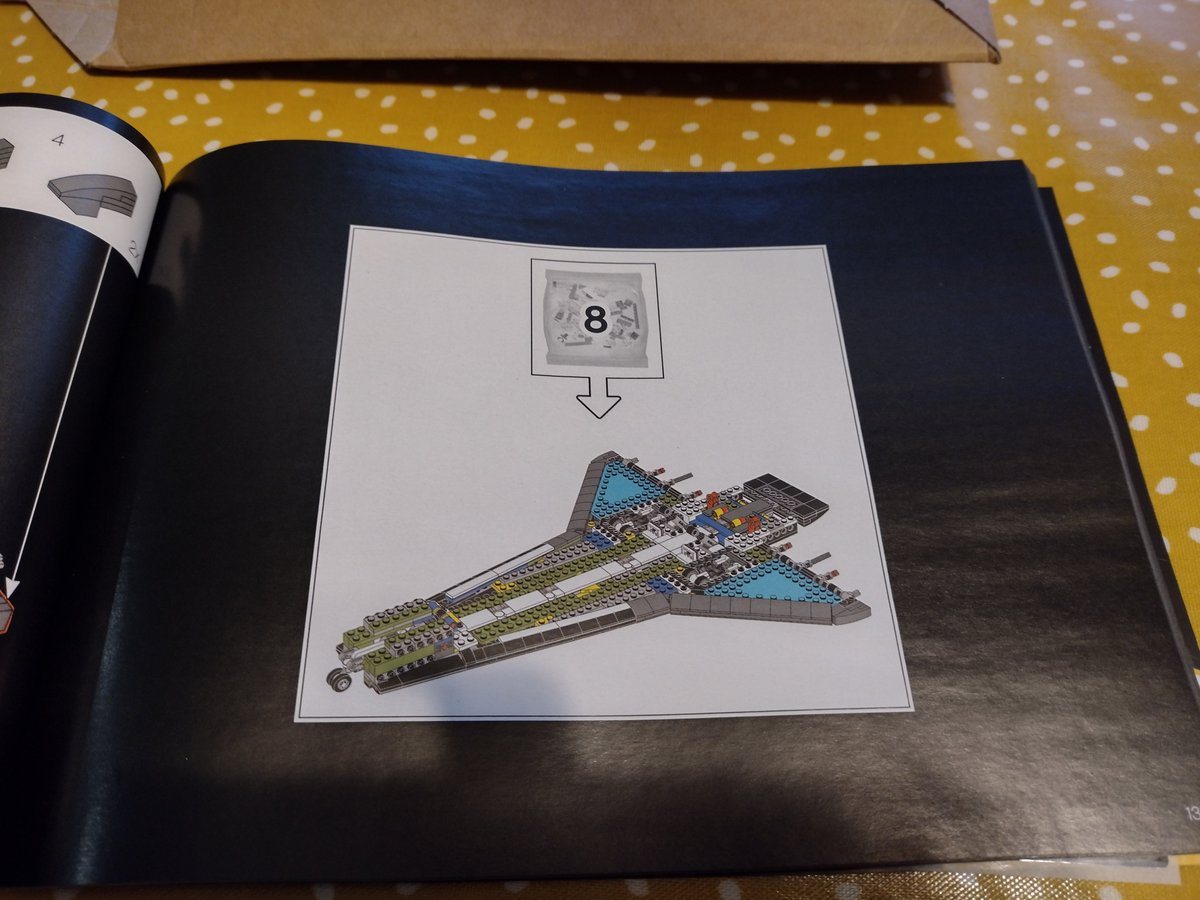
Welcome back to the Lego Shuttle mega-thread! We’re onto bag 7/17! Three sub-bags in this one – going to be working on the body and wings today.
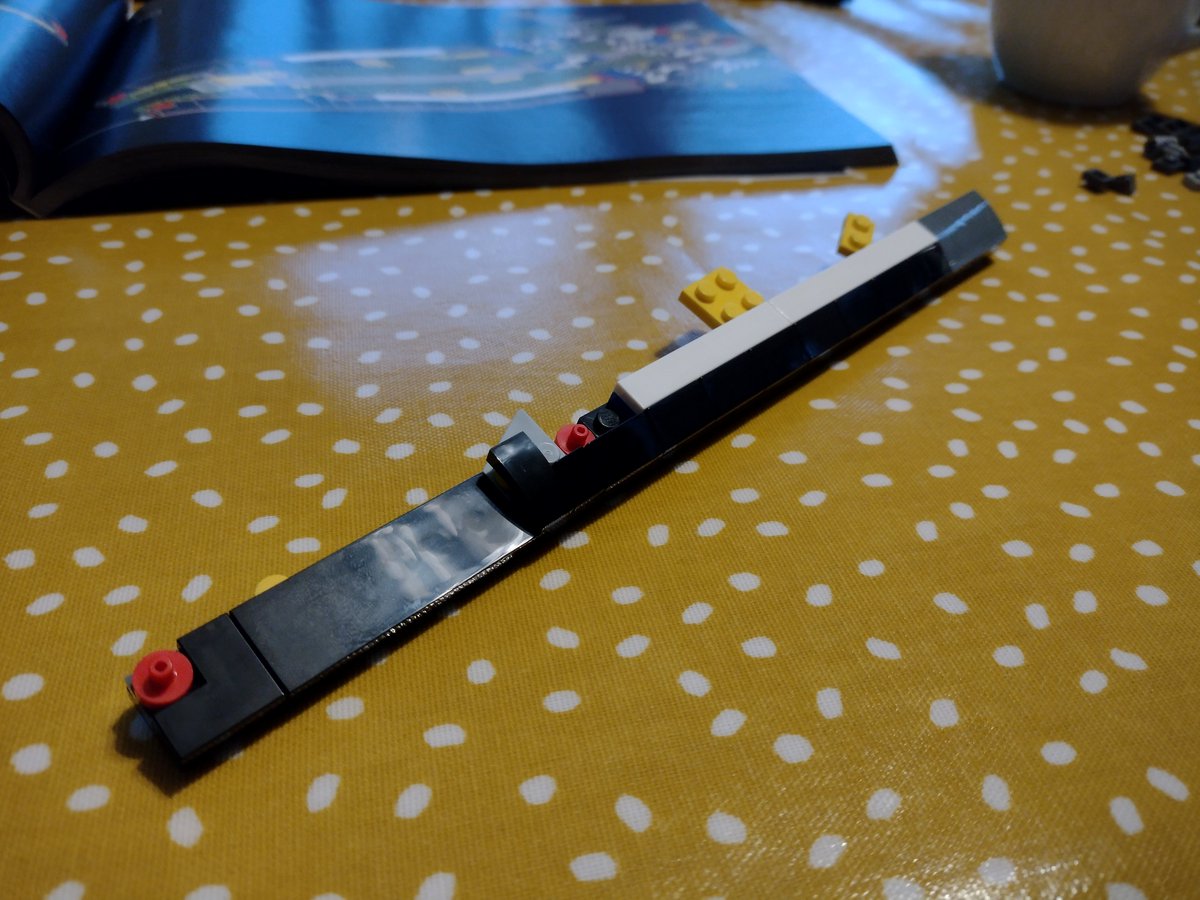
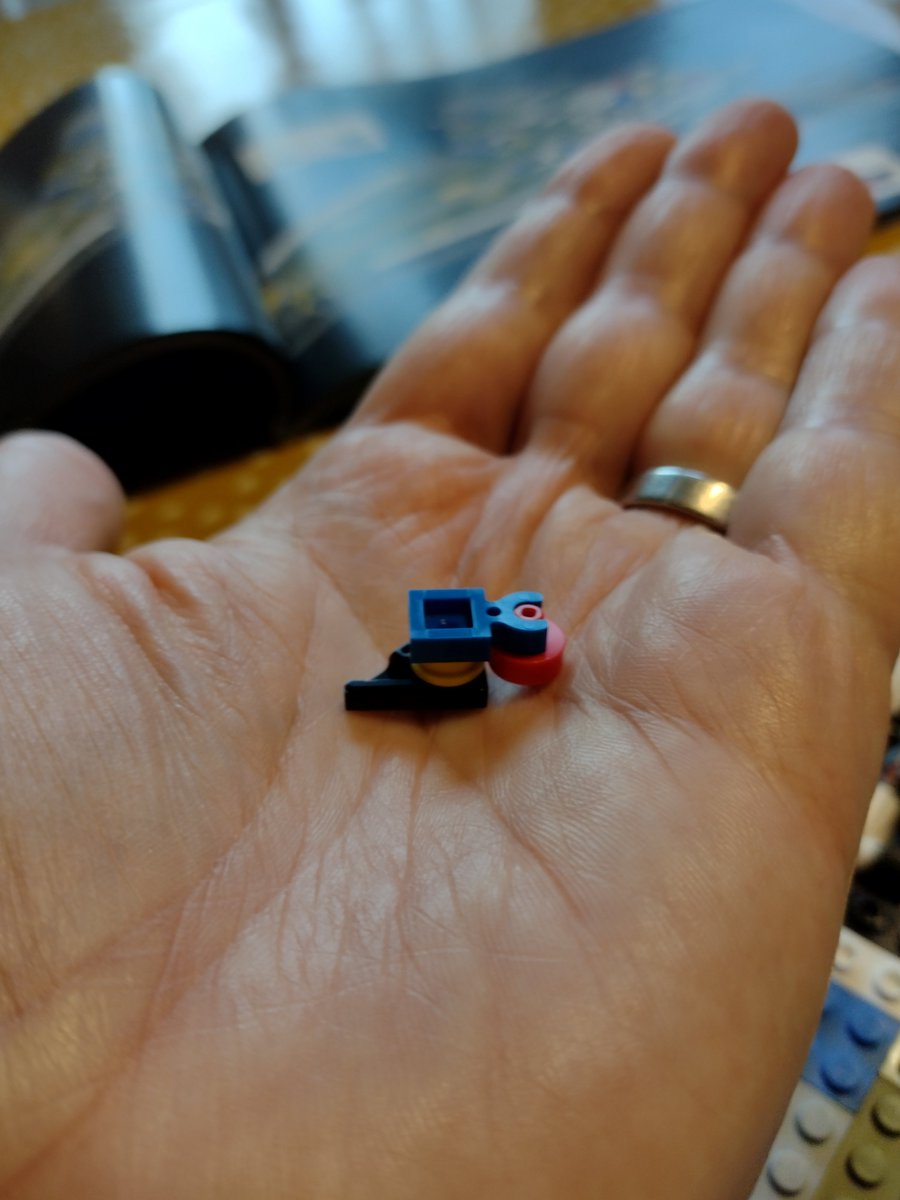
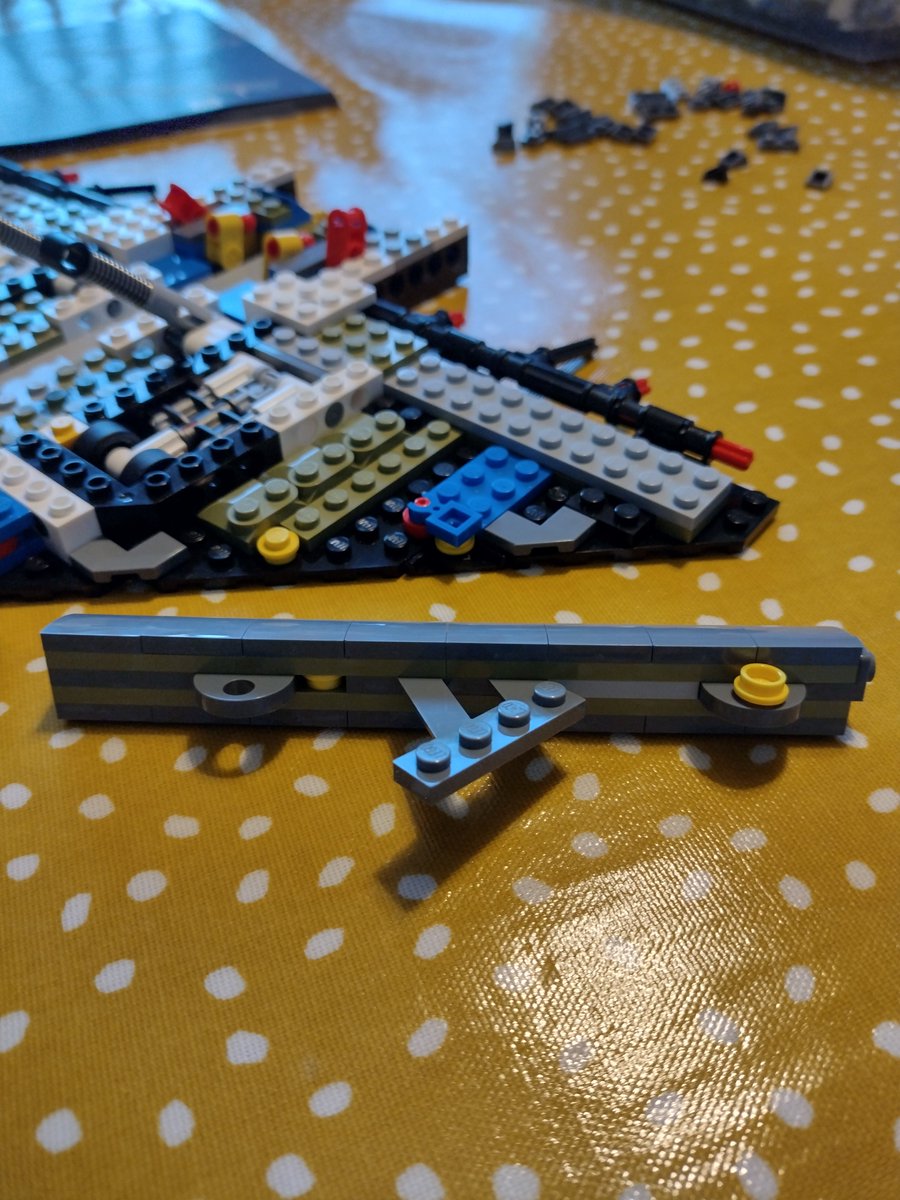
Straight out of the gates, we’ve got an unusual hinge piece, and immediately we fix it into place so it won’t pivot. #headScratch
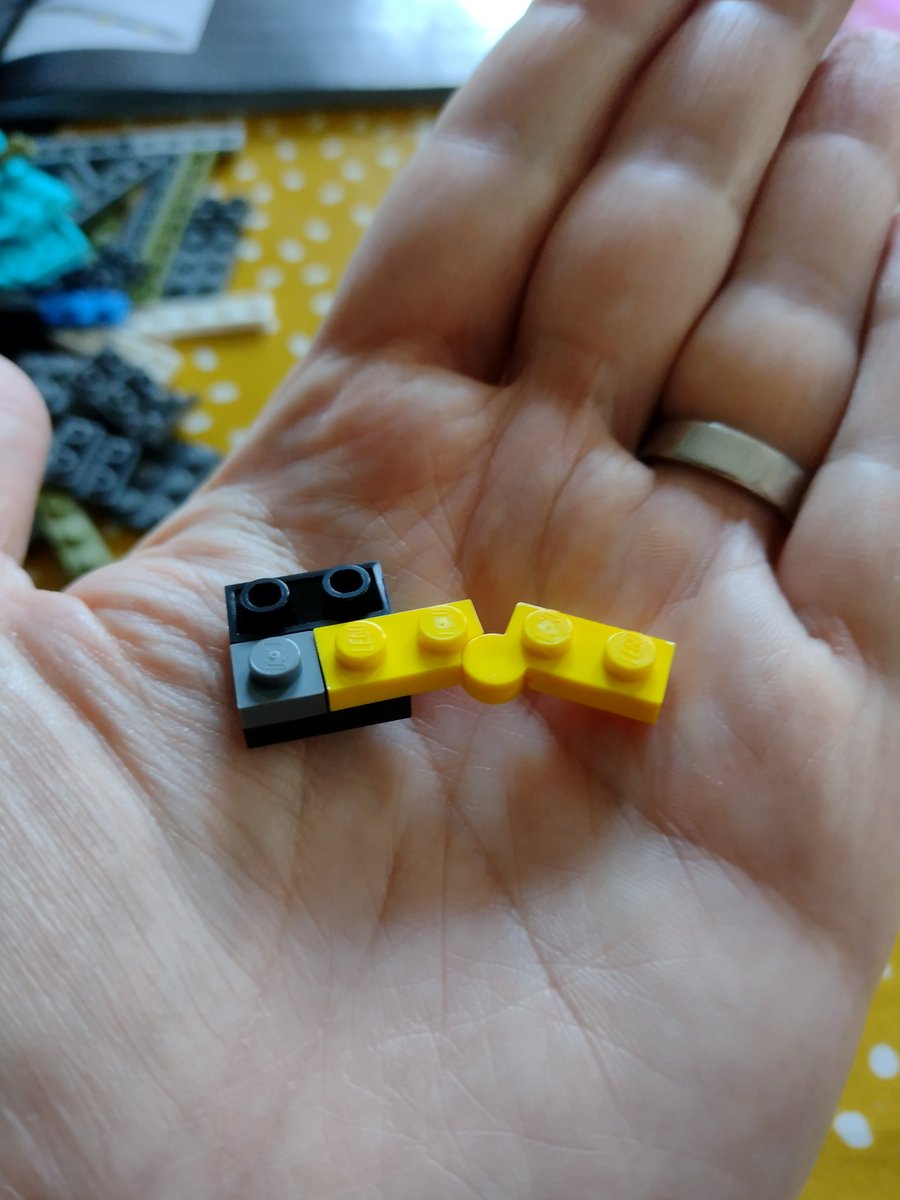
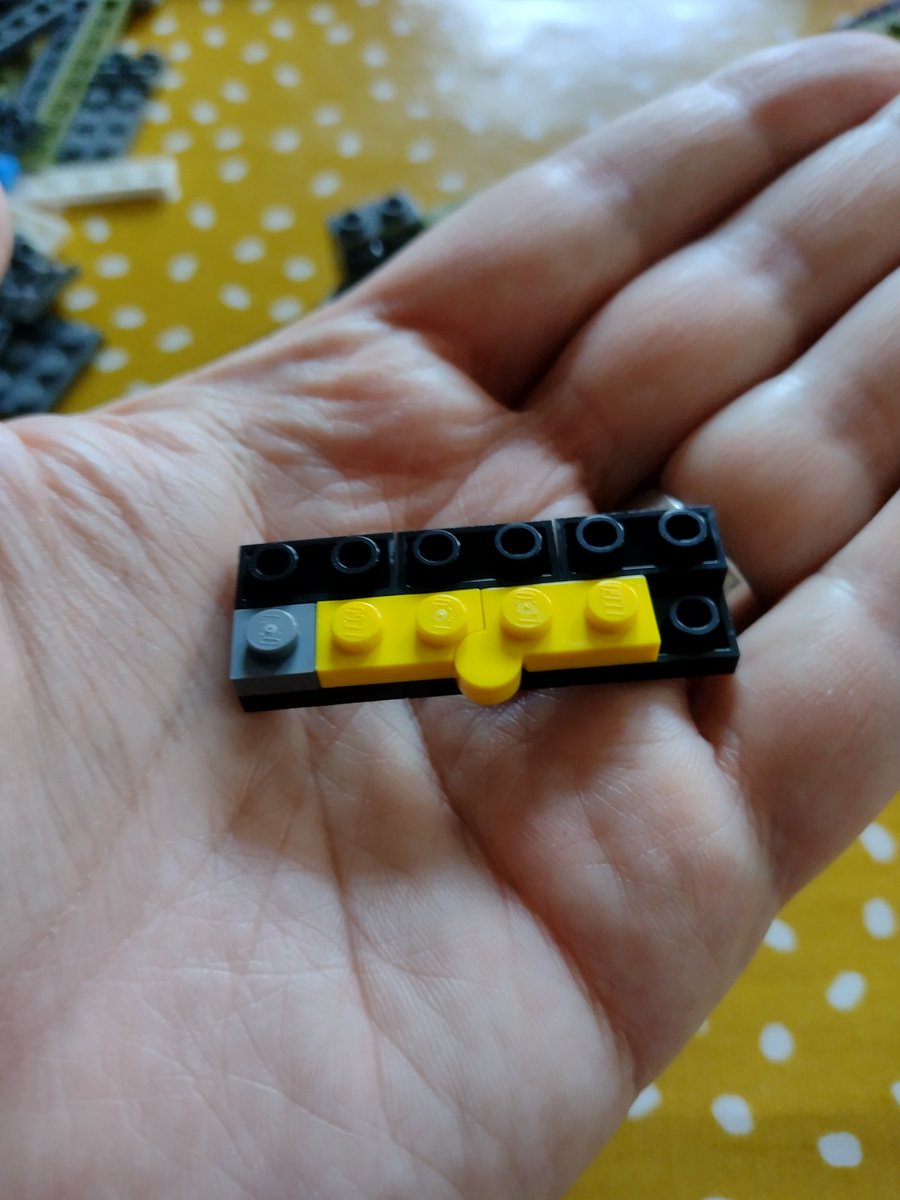
In the context of the front of what looks like the shuttle’s leading edge, it provides a flat protrusion. A couple of pivoting pieces at the back. They’re sandwiched into place.
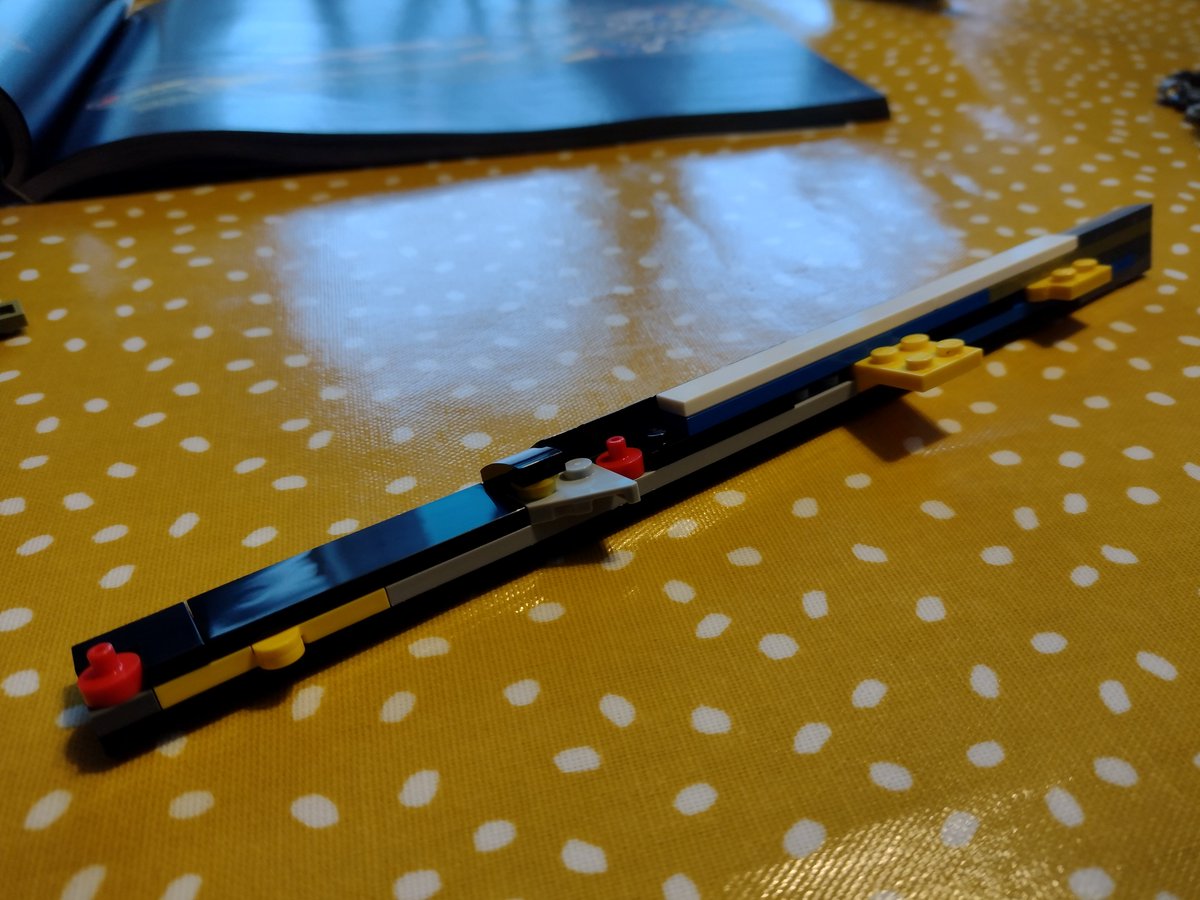
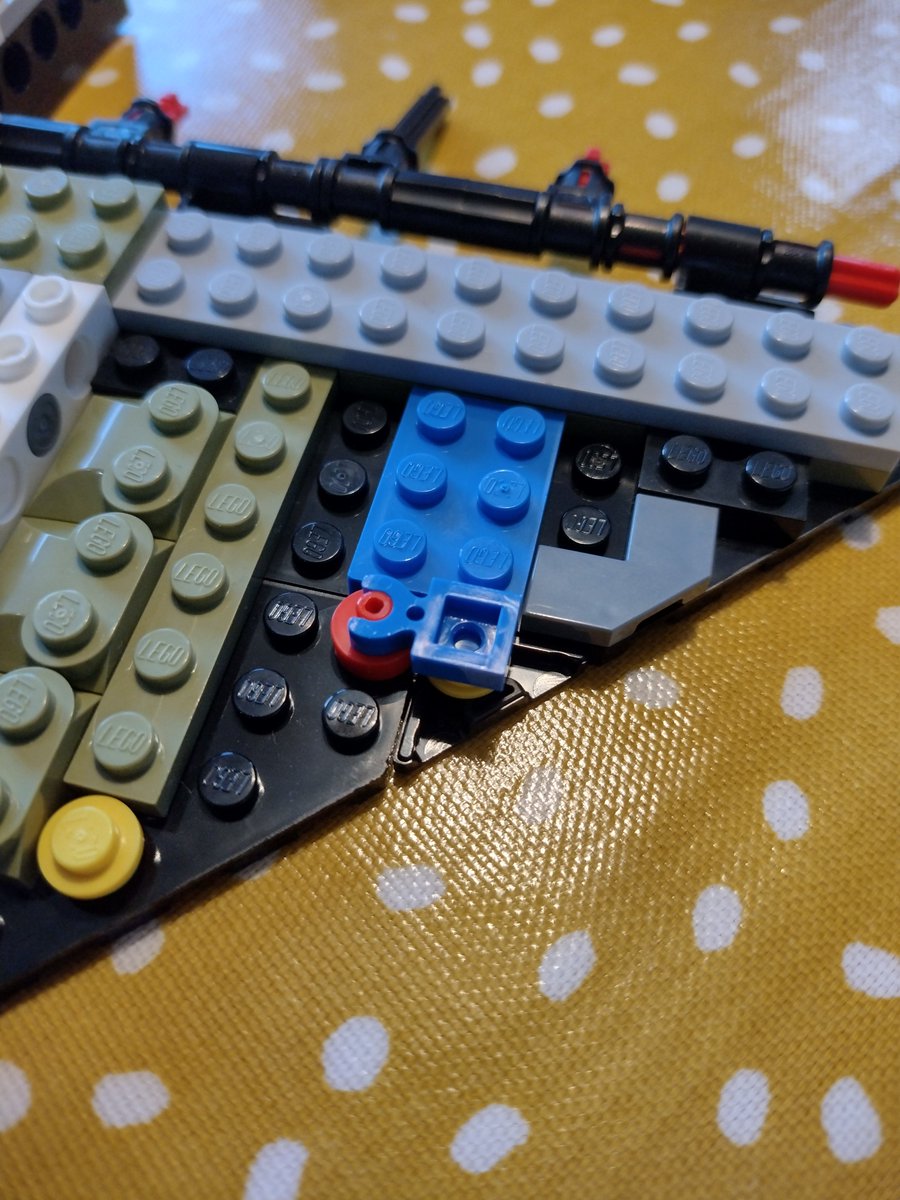
Clipping the edge onto the shuttle, you can see why these pieces are necessary – there’s no other way to fix stuff at that angle. The protrusion sits on top of a flat panel, preventing downward motion. Clever!
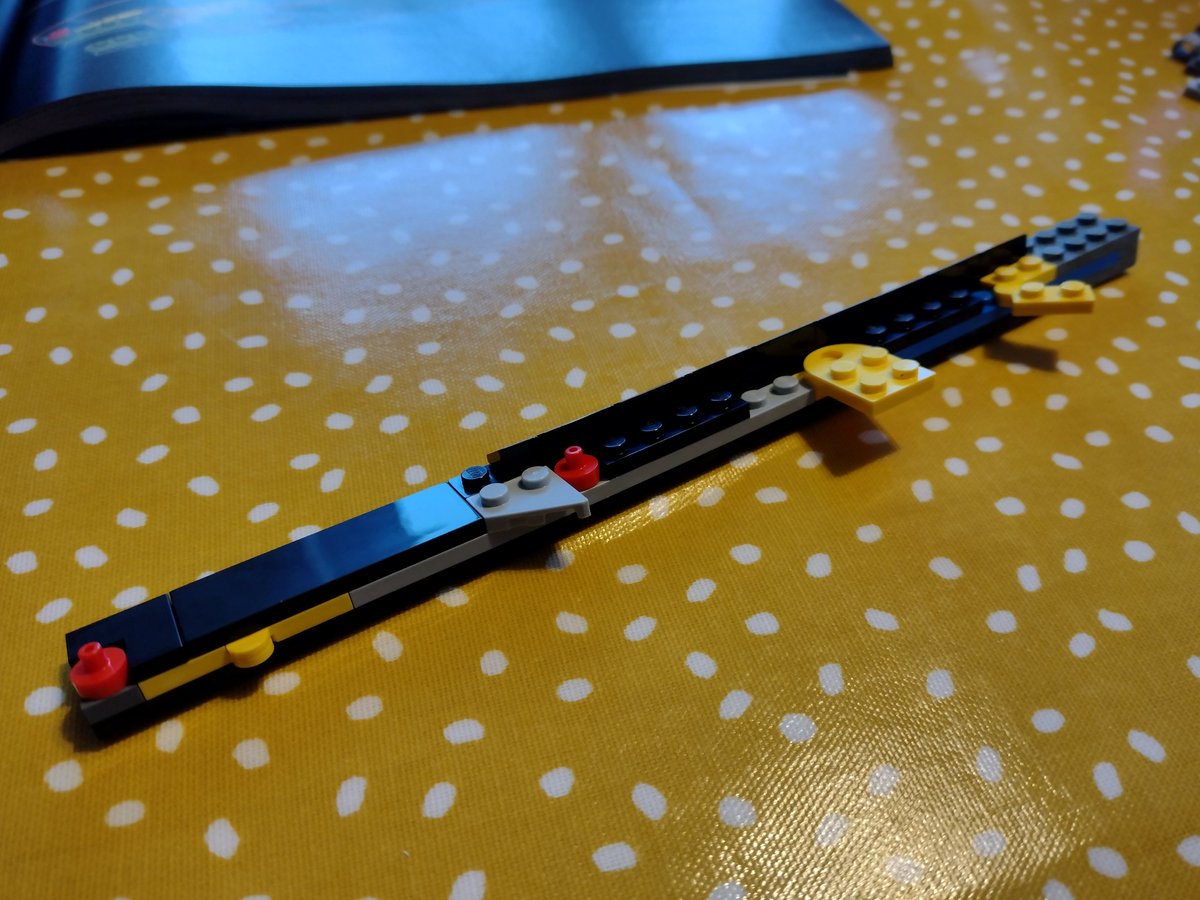
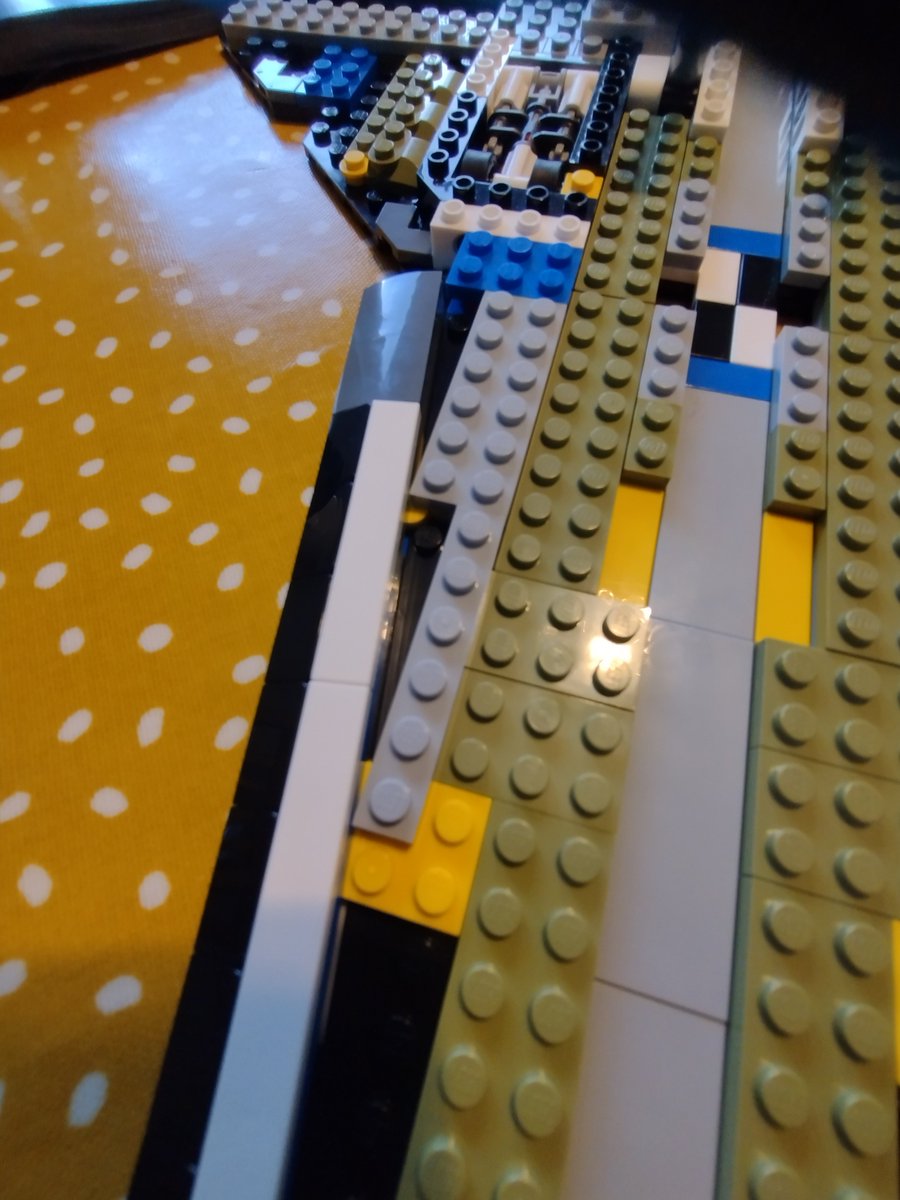
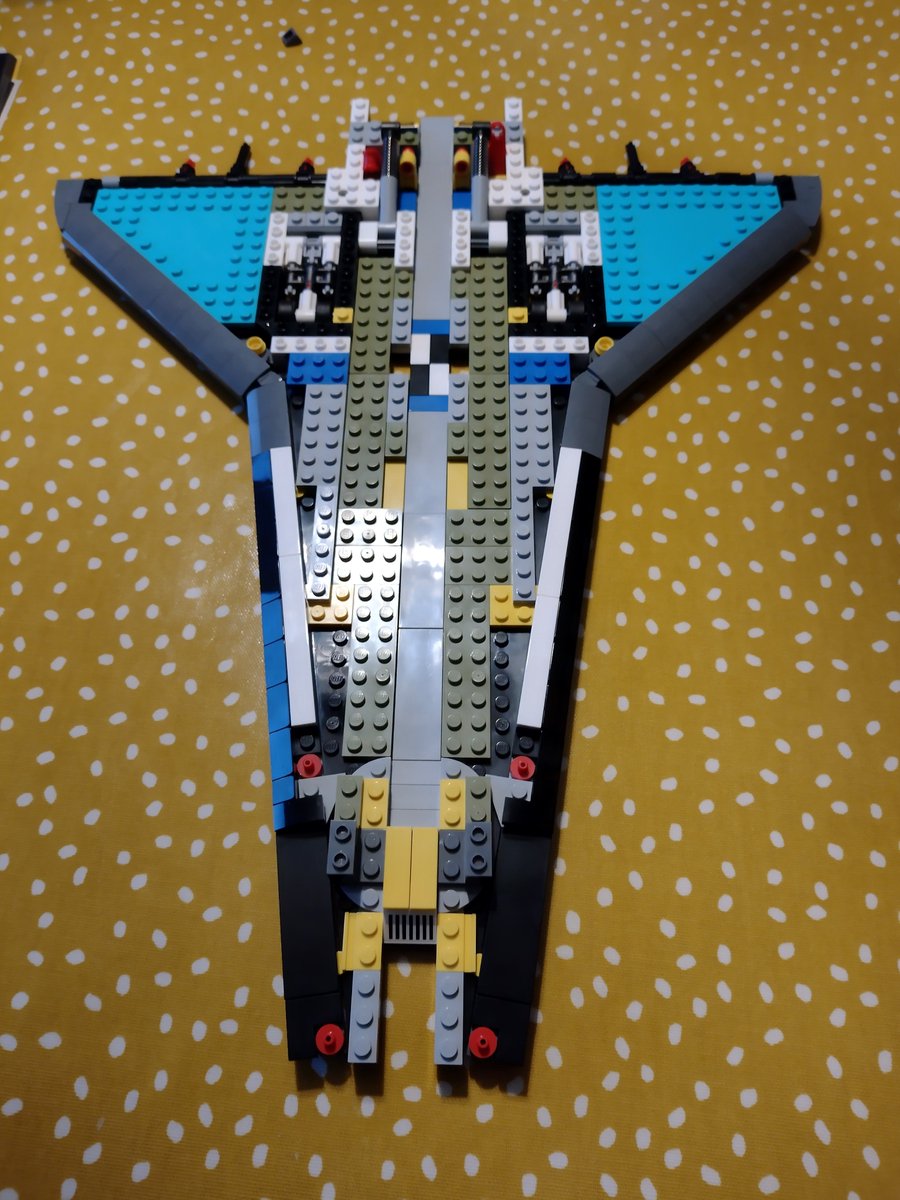
Build a mirror section, and starting to look good!
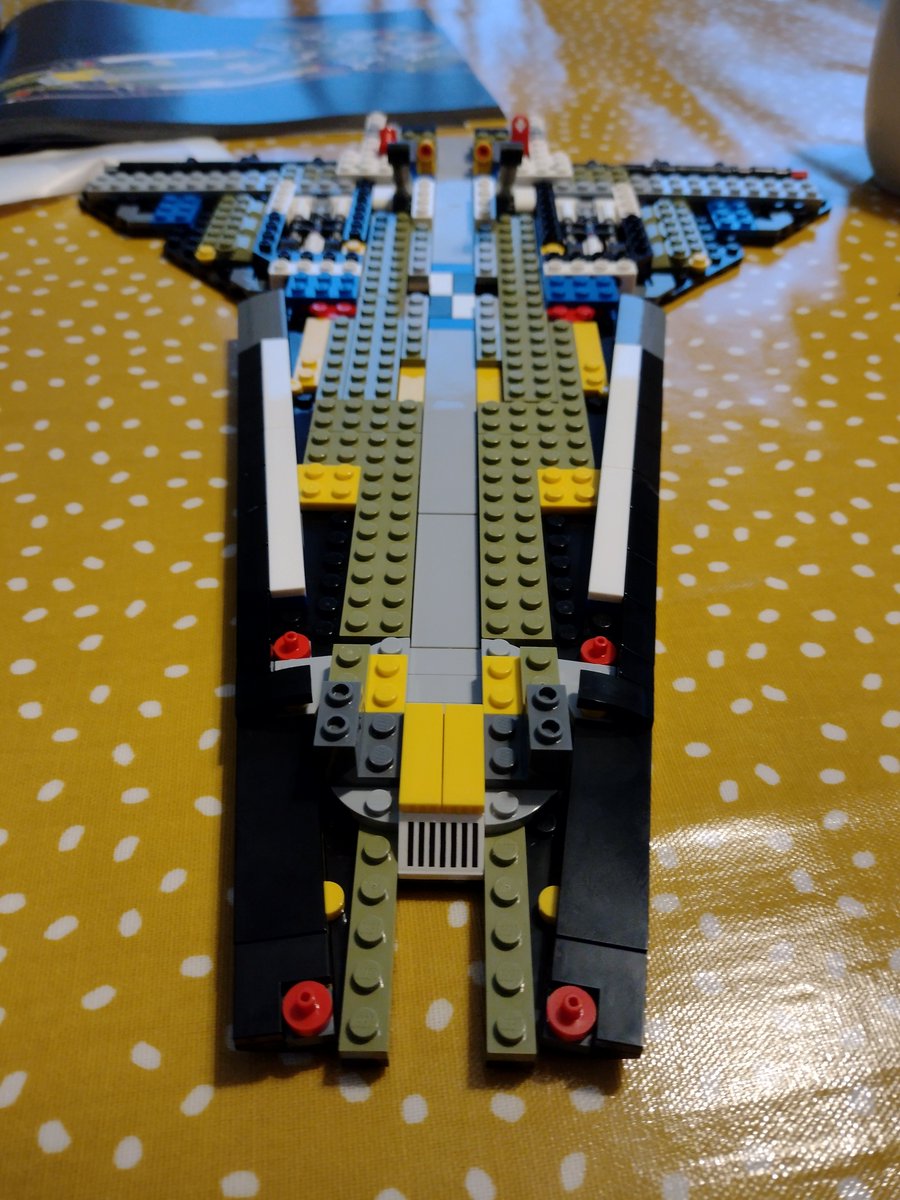
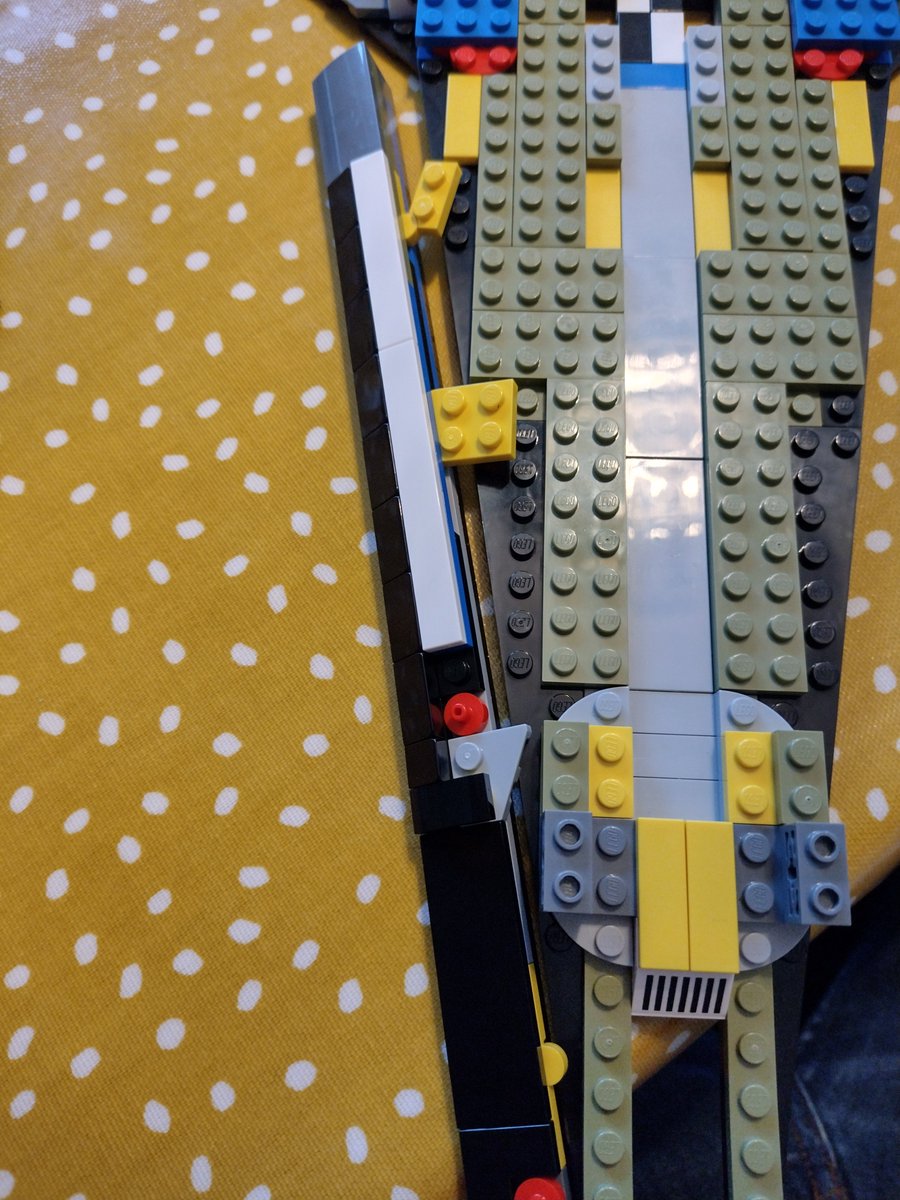
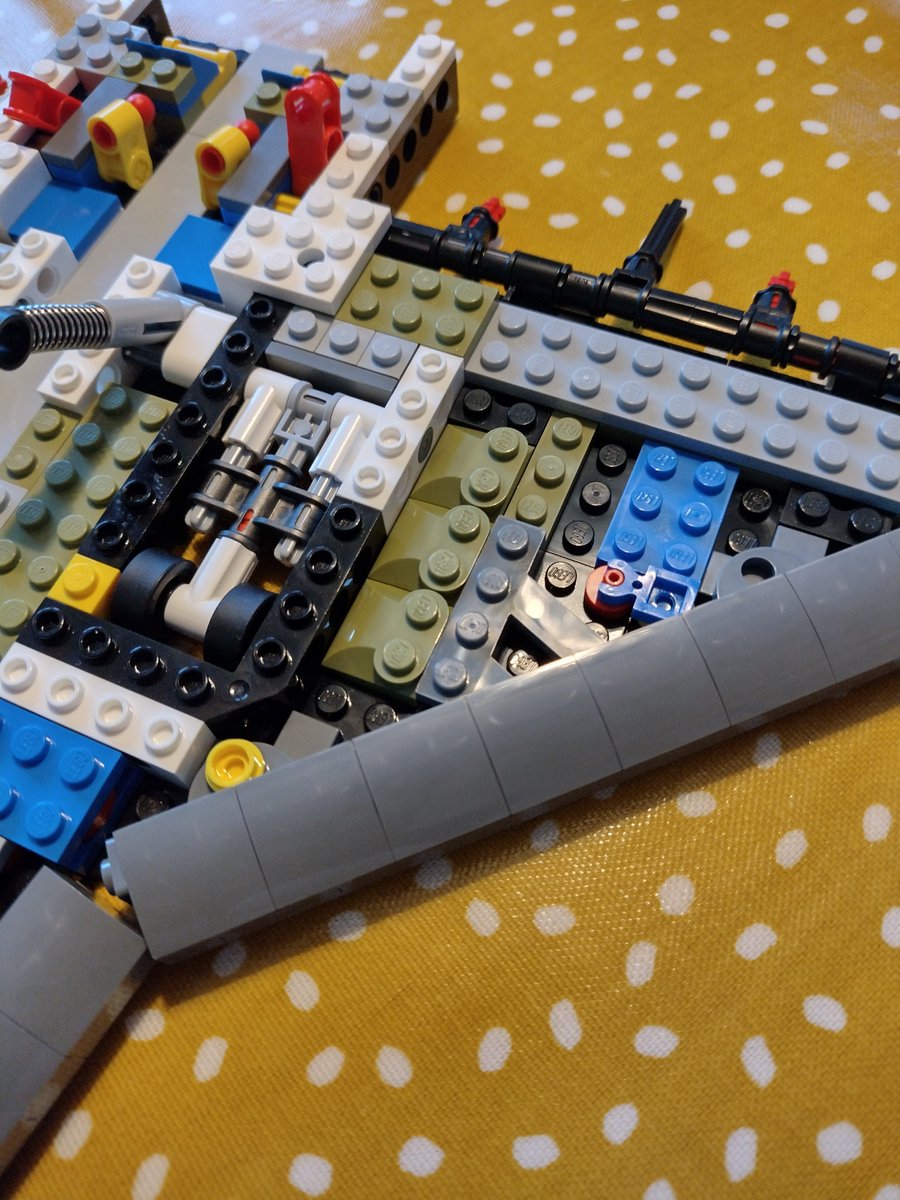
Those protrusions get fixed into place, as do the pivots. Now we’re solidly fixed. Again I’m left marveling at the ingenuity of the @Lego designers.
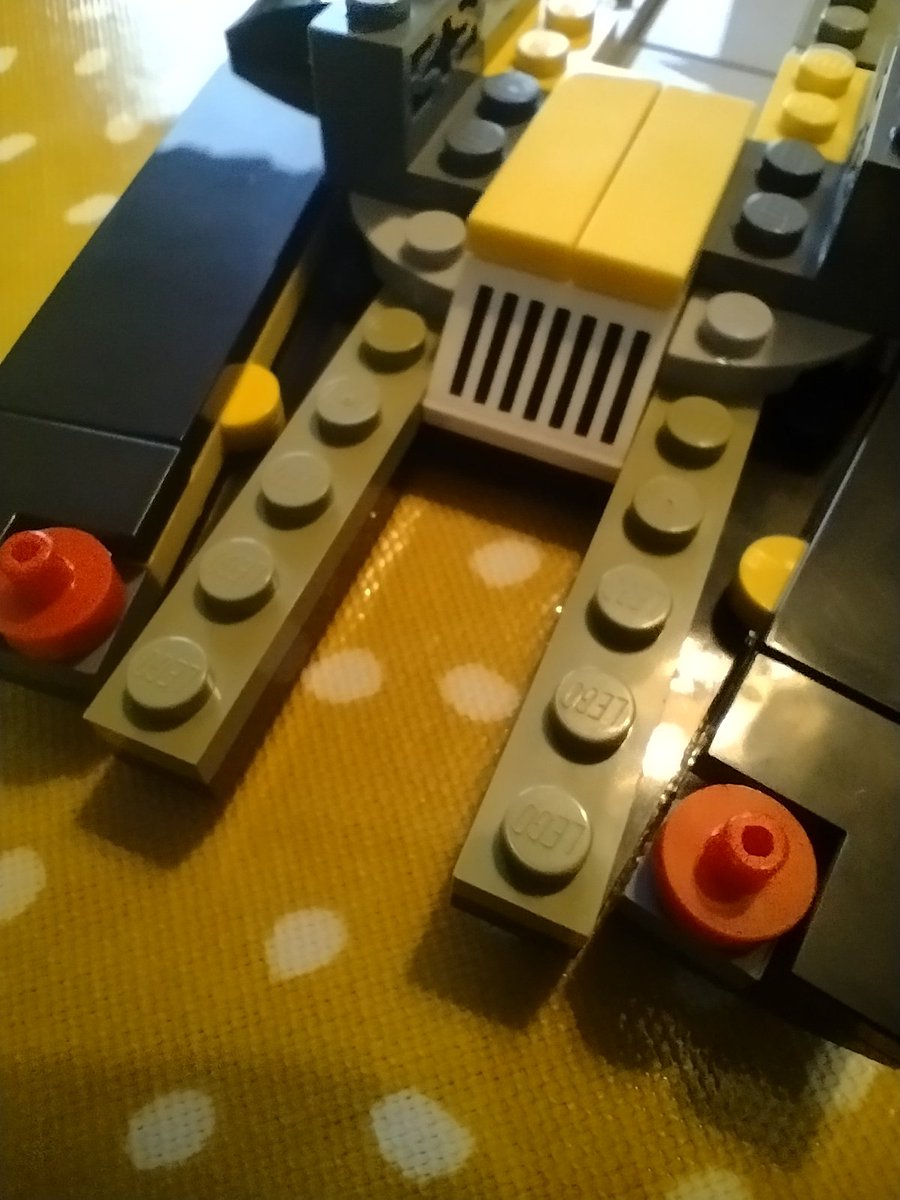
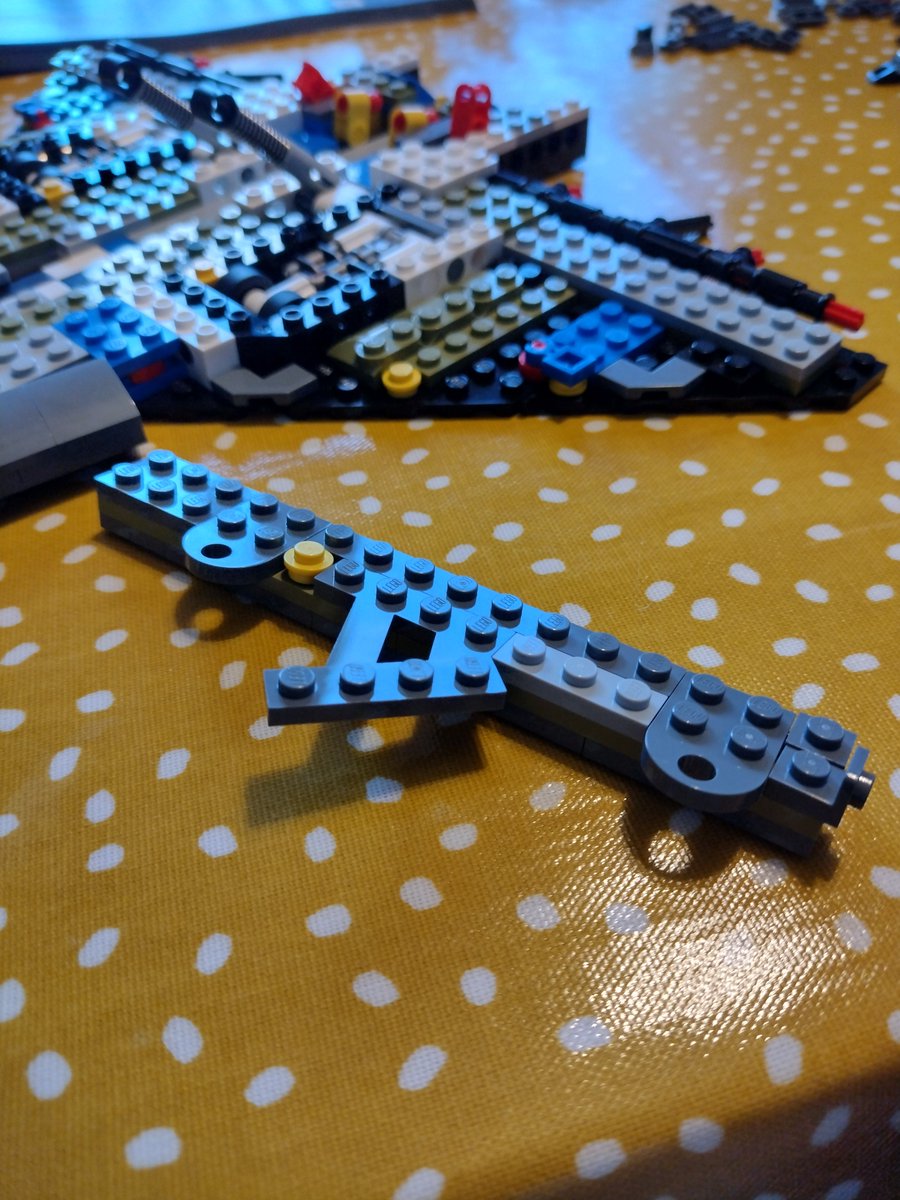
A couple of small blocks end up going upside down to fill a small right-angled gap in the wing.
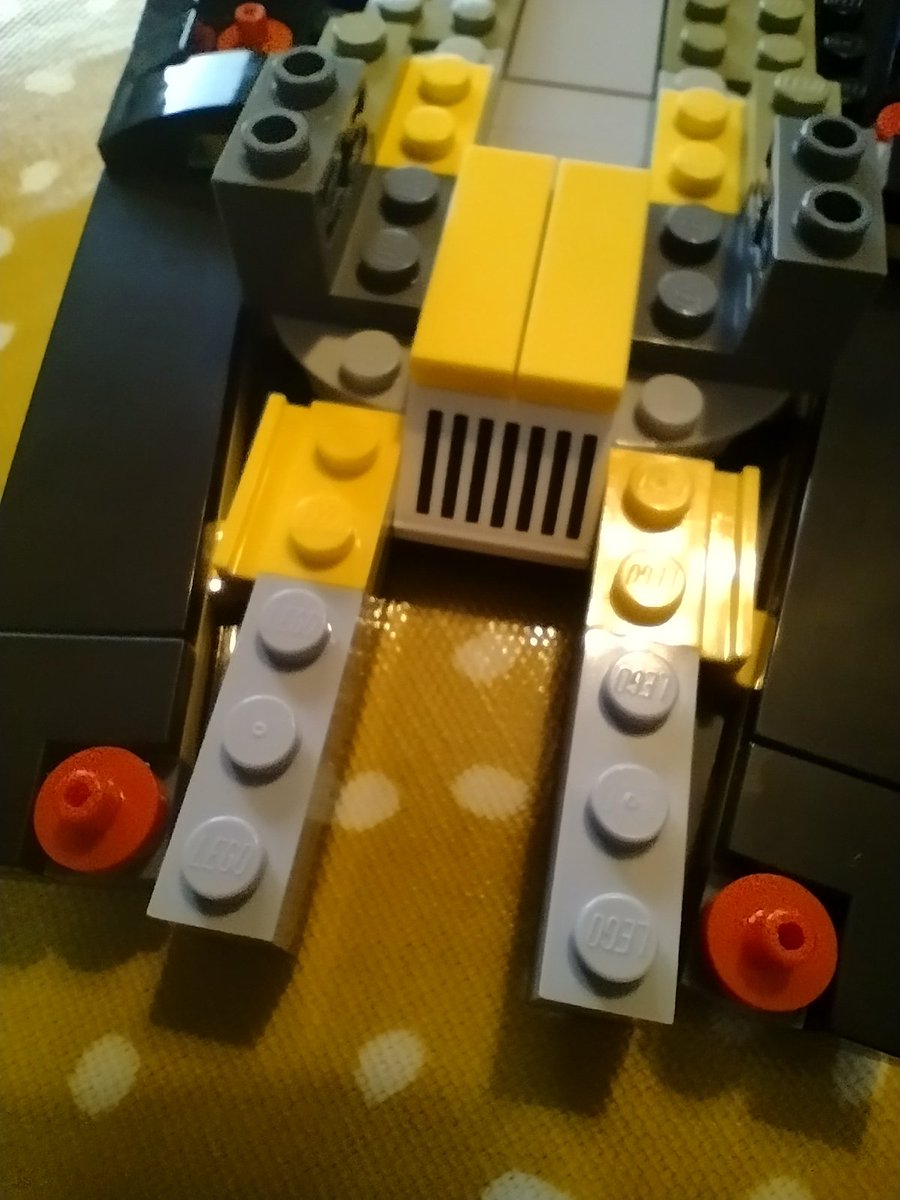
A highly specific angled piece gets sandwiched into the center of a wing’s leading edge. Attaches perfectly. Genius.

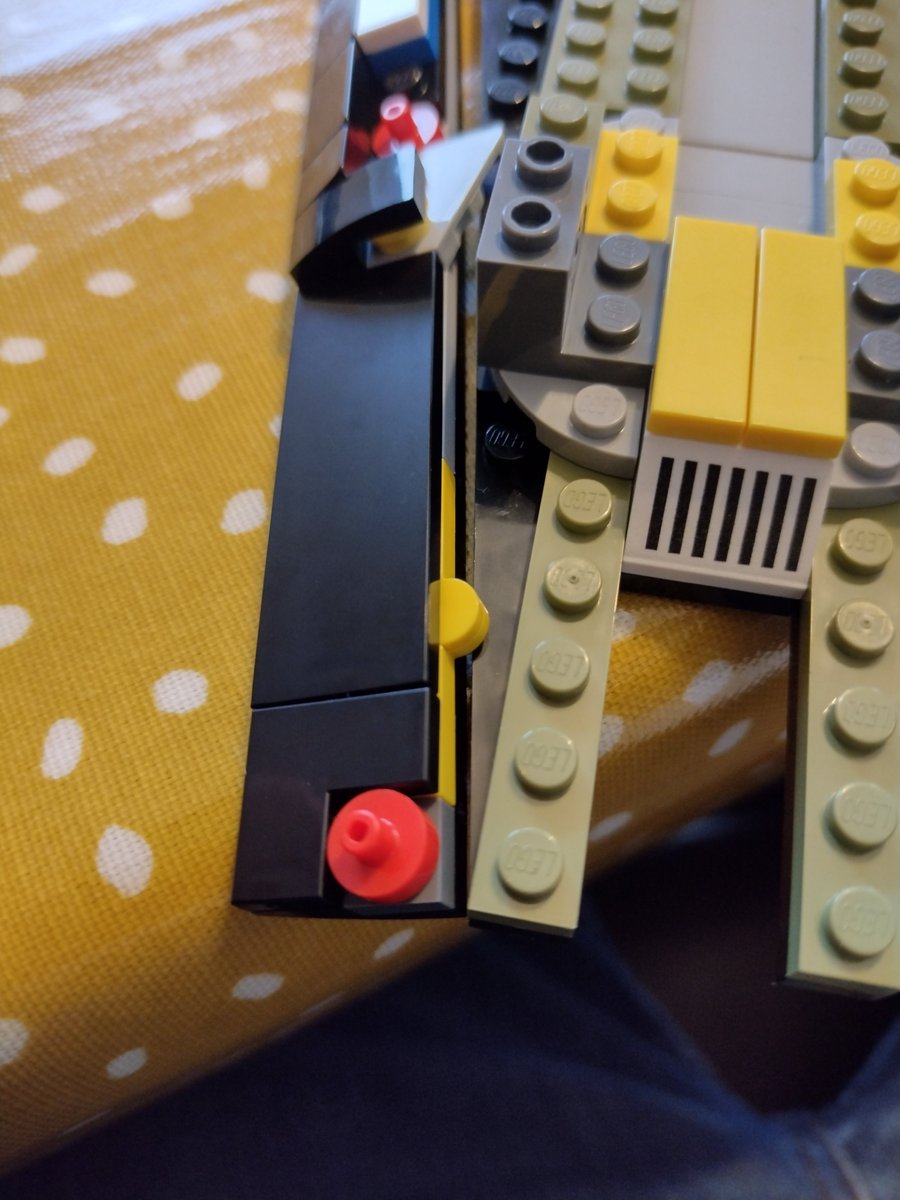
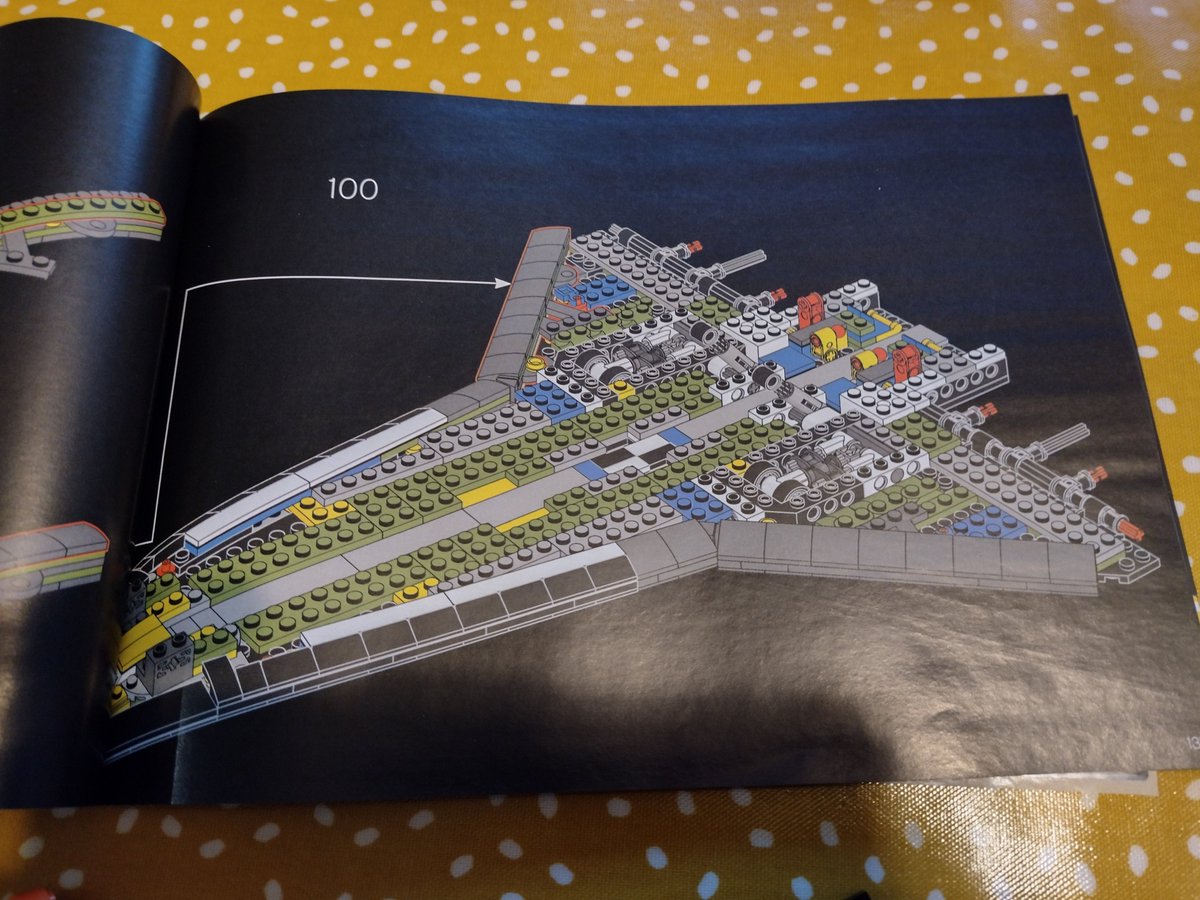
Put together its mirror section, attach it, and my 5yo copilot and I are 100 build steps in! 🎉
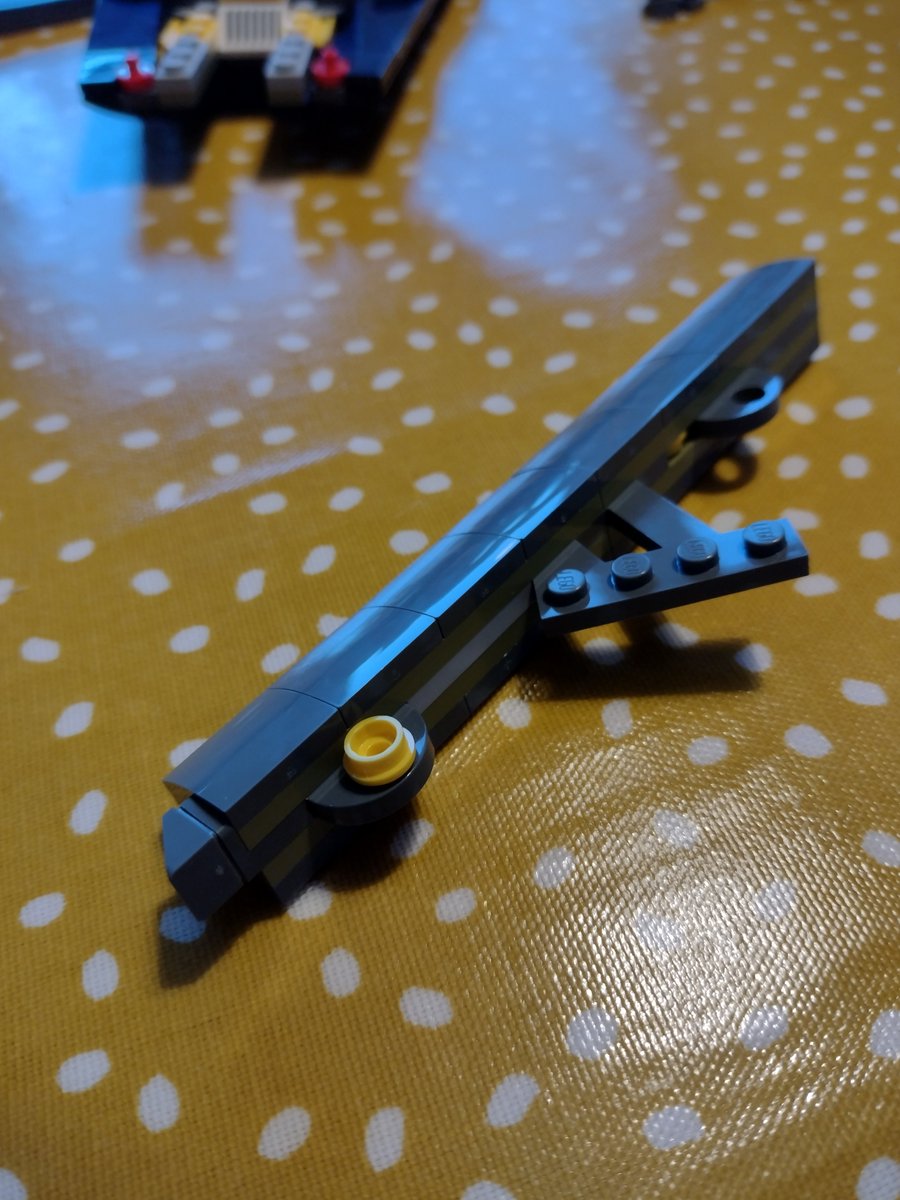

Click in some flat panels and some small curve units, and this bag is done!
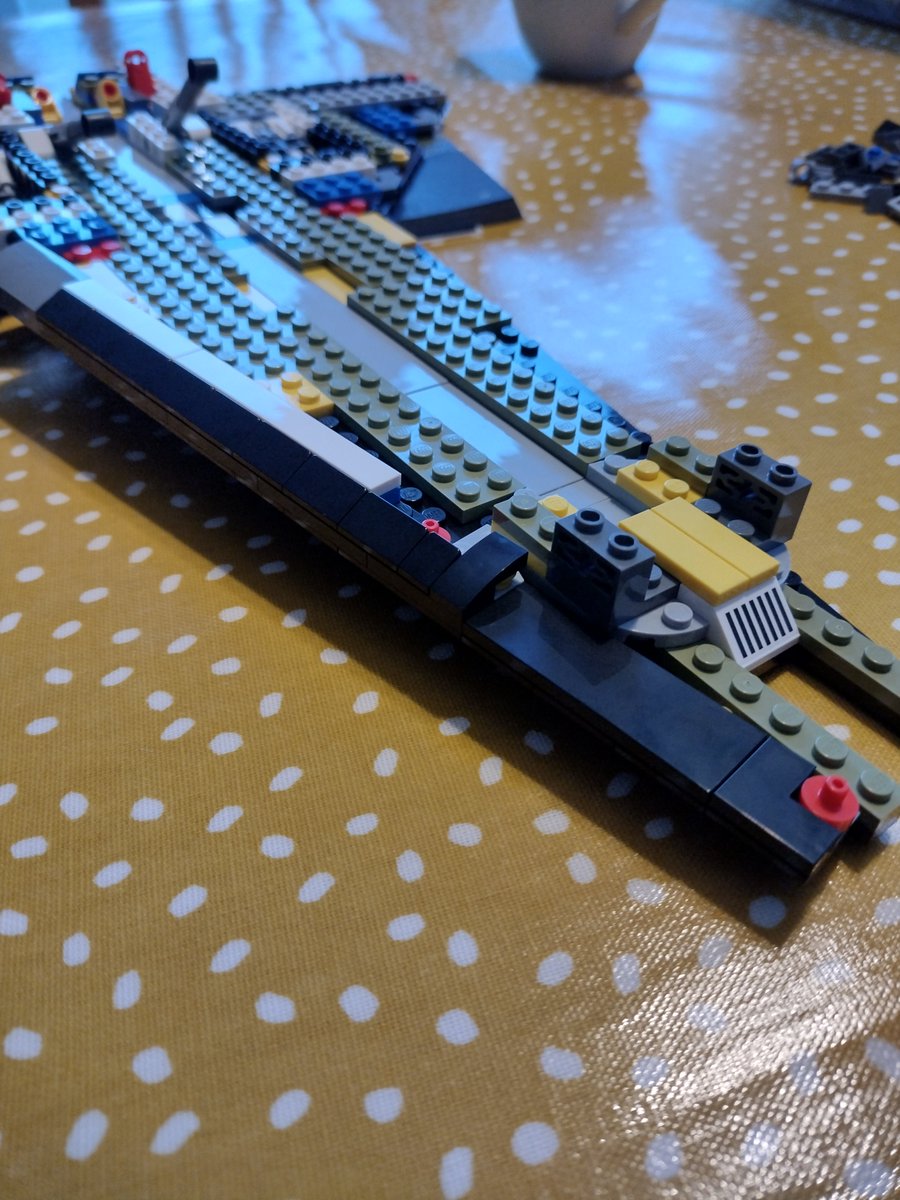
The next stage is going to be the front landing gear, bulking up the body and the rear section that protects the engines.
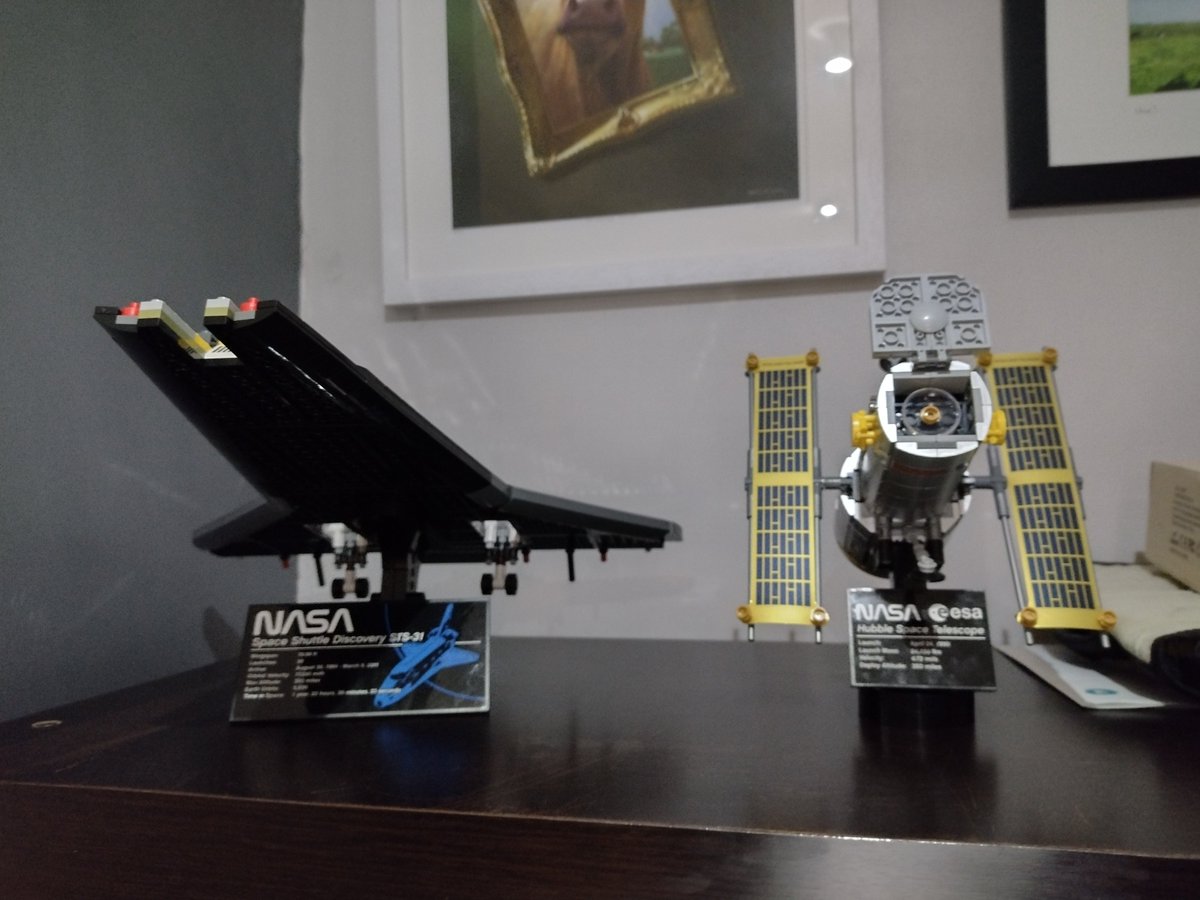
If you’re on a Zoom call with me, you’ll see the work in progress on my bookshelf. Also, some cow pics.🐮
This post is part of a series. You can read about the backstory behind this pet project of mine and navigate all the posts via an index on Lego Space Shuttle Mega-Build.