Build date: 2022-11-27
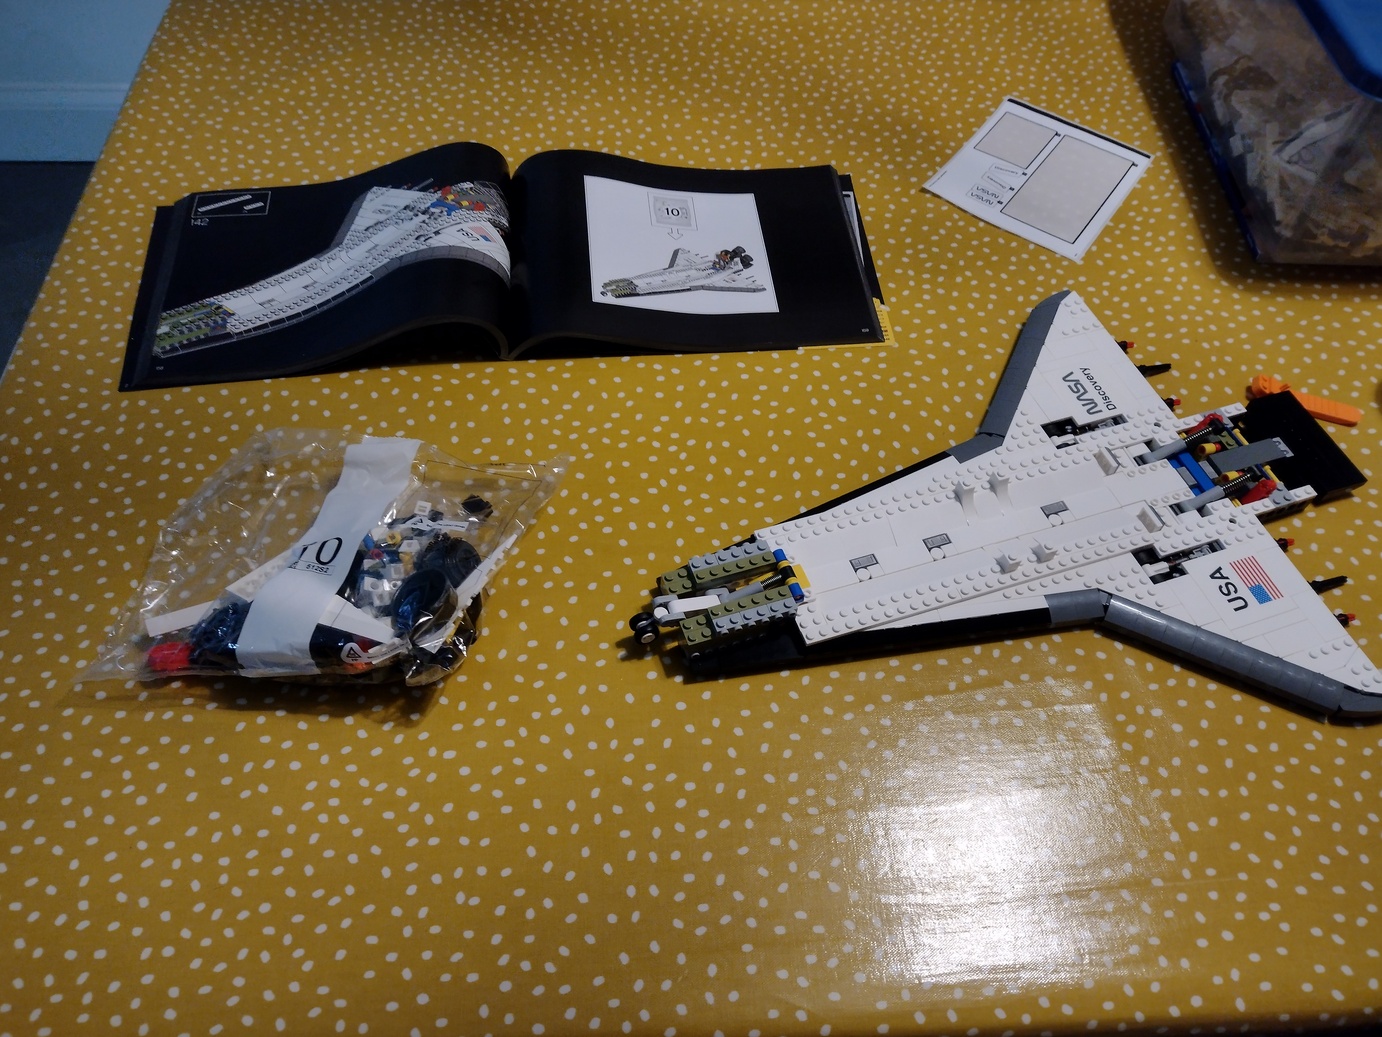
Finally, we’re moving away from the body of the shuttle and onto the real meat and potatoes of the build – the engines. Lots of mechanical components here.
The engine installation is interesting to build – the panel that they are installed on clips onto a bar on the base of the body and moves slightly backward and forwards. The top of the three main engines is able to be rotated – it is mounted onto a long axle that connects to a rotatable unit behind the engine plate with two ball and socket beams that connect to horizontal bars that move the ailerons of the shuttle.
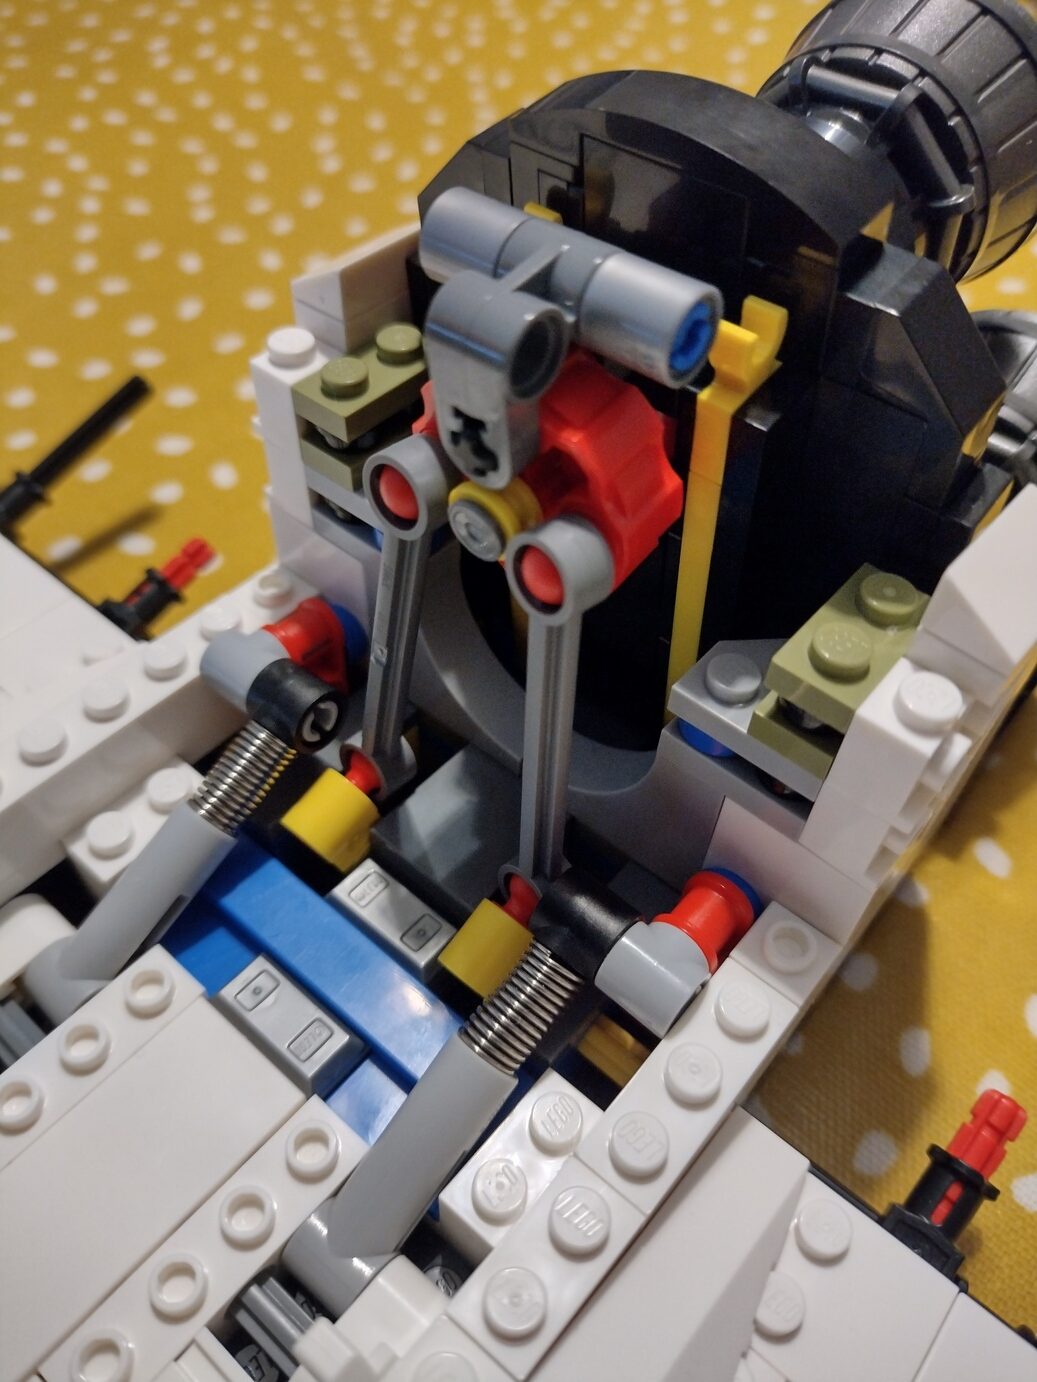
The effect is that pushing the left aileron mounts down results in the right aileron mounts lifting and the top of the three engines rotating. This sort of left-right coordination is how an aircraft turns on its longitudinal axis.
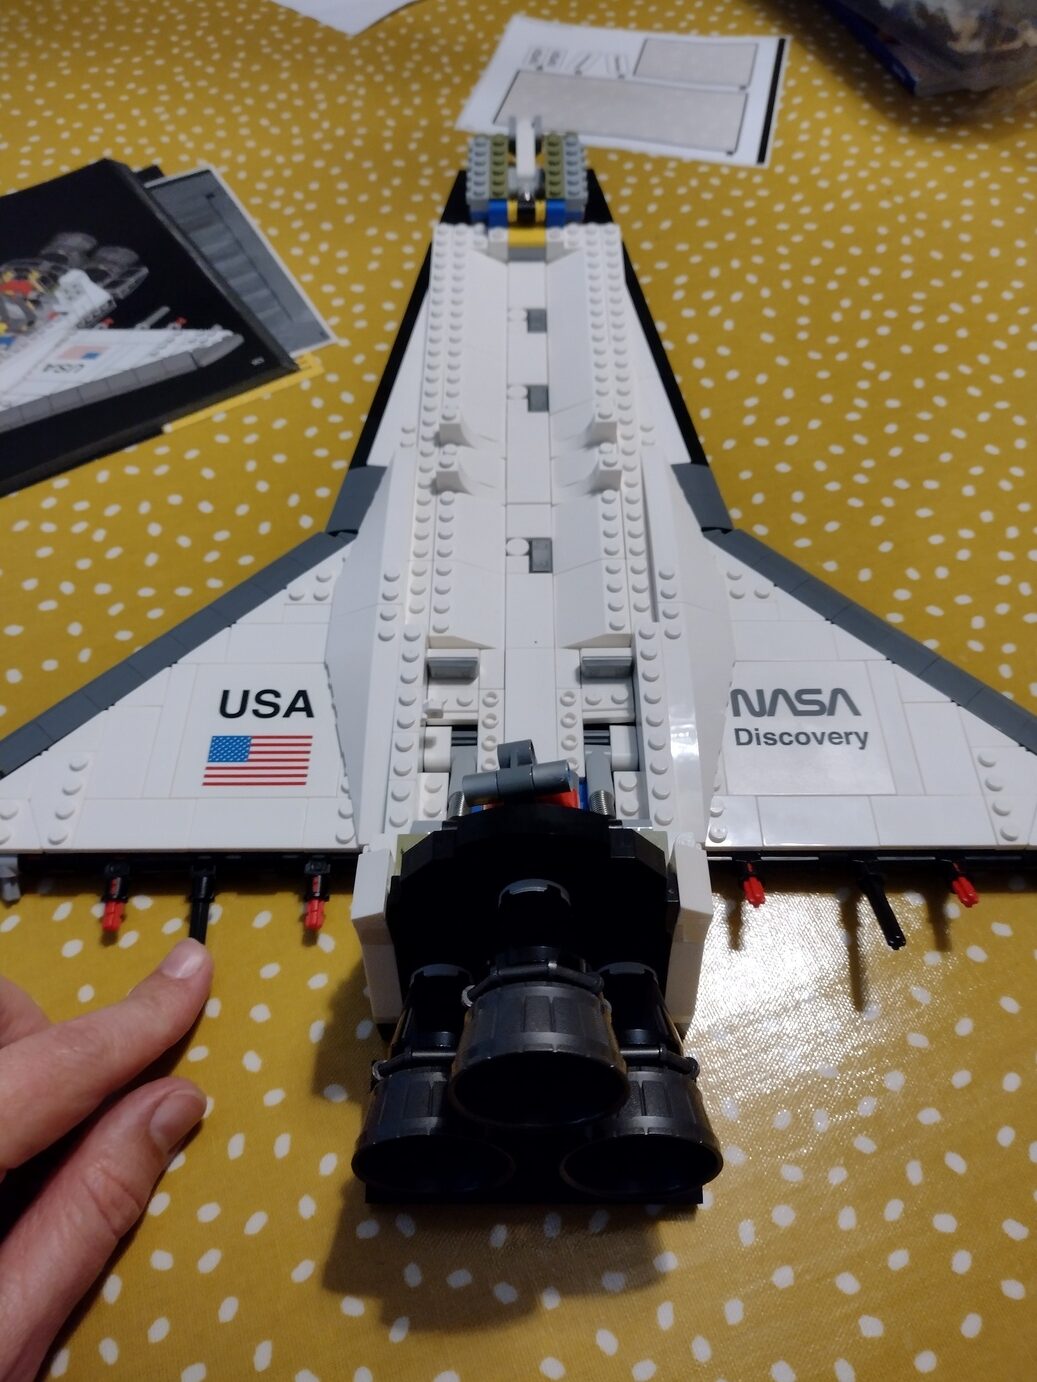

The idea in this set is that the turning effect is instigated by rotating the top engine. Very cool. Looking at the model down the length of the body shows the exposed mechanism in action.
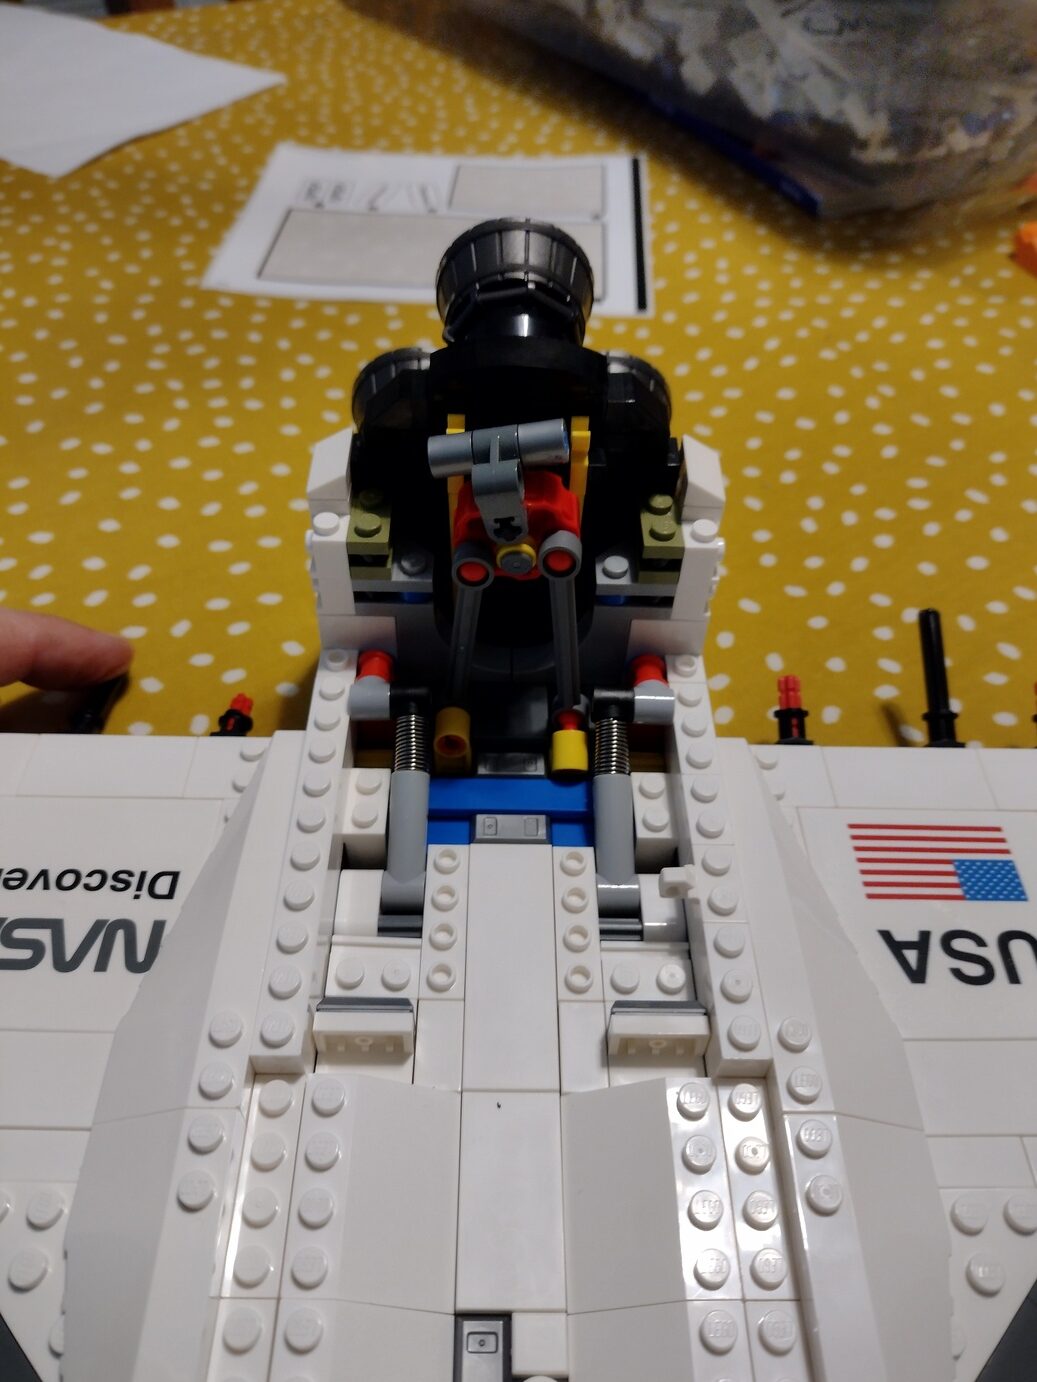
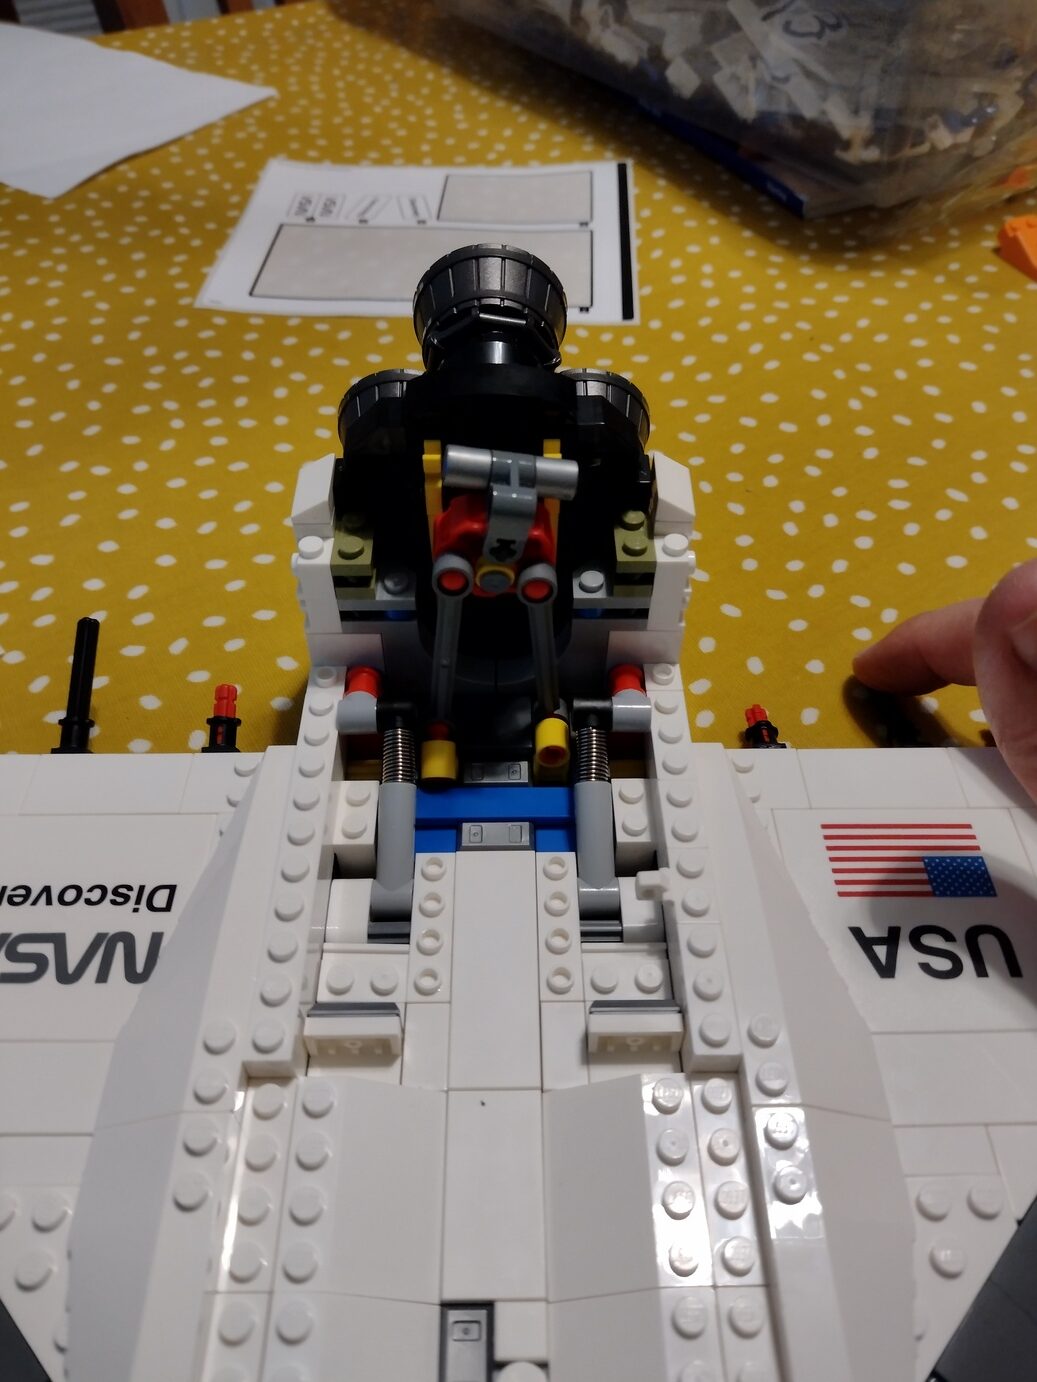
We now have the main engines installed!

This post is part of a series. You can read about the backstory behind this pet project of mine and navigate all the posts via an index on Lego Space Shuttle Mega-Build.